

A self-signed SSL certificate is a digital certificate signed by its own creator instead of a trusted, third-party Certificate Authority (CA). Think of it as printing your own ID card. While it proves you created it and looks official to you, no external authority has verified your identity. This distinction is critical for understanding where self-signed certificates are a powerful tool for IT professionals and where they become a significant security risk.
This guide provides a technical breakdown of self-signed certificates, including actionable examples for generating one on a Linux server and clear best practices for their use in development and internal environments.
Understanding the Role of Encryption and Authentication
At its core, any SSL/TLS certificate is designed to perform two primary functions:
- Encrypt data in transit between a client (like a web browser) and a server.
- Authenticate the server's identity, proving it is who it claims to be.
A self-signed certificate handles the encryption part perfectly, leveraging the same robust cryptographic standards as a CA-signed one. The critical failure point is authentication. The entire system of trust on the web, known as Public Key Infrastructure (PKI), is built on a chain of trust. A certificate from a CA is trusted because your browser or operating system has a pre-installed list of trusted root CAs.
A self-signed certificate breaks this chain. The server essentially says, "Trust me, I am who I say I am," without any independent verification. For a deeper dive into the mechanics, it’s worth understanding the principles of symmetric and asymmetric encryption that power all SSL/TLS communication.
This distinction is crucial. For internal development on an ARPHost VPS, testing a new application, or securing a private Proxmox management interface that only your IT team accesses, this level of trust is often sufficient. You know the server, so you can personally vouch for its identity. However, for any public-facing website, it’s a non-starter. Visitors will be met with severe browser security warnings, user trust will be destroyed, and your organization will appear unprofessional. Our guide on how to secure a web server details the correct approach for implementing security that builds visitor trust.
Self-Signed vs. CA-Signed SSL Certificates at a Glance
| Attribute | Self-Signed Certificate | CA-Signed Certificate |
|---|---|---|
| Trust & Verification | No third-party verification. Not trusted by browsers. | Verified by a trusted Certificate Authority (CA). |
| Browser Behavior | Triggers prominent security warnings ("Your connection is not private"). | Recognized as secure, displays a padlock icon. |
| Cost | Free to generate. | Varies from free (Let's Encrypt) to paid (premium CAs). |
| Best Use Cases | Development, testing, internal services, private networks, lab environments. | Public-facing websites, APIs, and production services. |
| Security Risk | High risk for public sites; no protection from phishing or MITM attacks. | Low risk; provides verified identity and builds user trust. |
| Setup Process | Generated instantly on the server via CLI commands. | Requires a domain or organization validation process with the CA. |
As the table illustrates, the choice isn't about which is "better" but which is appropriate for the specific use case. Deploying a self-signed certificate on a live e-commerce site is a critical error, just as paying for a premium CA certificate for a local development server is unnecessary.
How Self-Signed SSL Certificates Work: A Technical Look
To understand why browsers reject self-signed certificates, you must first grasp the chain of trust. In a secure, production-ready setup, a trusted CA acts as a digital notary. The CA performs due diligence to verify a server's identity before issuing a certificate. This process creates a verifiable trail back to a root certificate that your browser already trusts.
A self-signed certificate sidesteps this entire framework. It's signed by the same private key that it’s designed to certify, creating a closed loop with zero independent validation. Since the certificate's issuer (the server itself) is not on the browser's pre-approved list of trusted CAs, the browser has no choice but to flag it as untrustworthy.
The Missing Link in Trust
This lack of a trusted issuer is the fundamental problem for public-facing use. The PKI system relies on the principle that you can trust a certificate because you trust the authority that validated it. Since anyone with shell access can generate a self-signed certificate for any domain, it offers no proof of identity to an external user. An attacker could execute a man-in-the-middle attack, present their own self-signed certificate for your domain, and from a user's perspective, it would trigger the exact same browser warning as your legitimate one. This is precisely why browsers react so severely—they cannot distinguish between a harmless development environment and a sophisticated phishing attempt.
Generating a Self-Signed Certificate on a Linux VPS
The irony is that the ease of creation makes self-signed certificates invaluable for development but dangerous for production. On any ARPHost Secure VPS Hosting environment, you can generate one in seconds using the OpenSSL command-line tool.
Here is a step-by-step example for creating a self-signed certificate valid for 365 days using a 4096-bit RSA key:
# Generate a private key and a self-signed certificate in one command
# -x509: Outputs a self-signed certificate instead of a certificate request
# -newkey rsa:4096: Creates a new 4096-bit RSA private key
# -keyout private.key: Specifies the output file for the private key
# -out certificate.crt: Specifies the output file for the certificate
# -days 365: Sets the validity period to one year
# -nodes: Skips the option to encrypt the private key with a passphrase
openssl req -x509 -newkey rsa:4096 -keyout private.key -out certificate.crt -days 365 -nodes
This single command generates private.key and certificate.crt in your current directory. This simplicity is ideal for quickly enabling HTTPS on a project running on our Bare Metal Servers or within a Dedicated Proxmox Private Cloud.
For any application your customers or the public will interact with, this lack of verifiable trust is a non-starter. The goal of SSL isn't just to encrypt data; it's to prove you are who you say you are. Only a CA-signed certificate can do that. ARPHost's managed services can help you deploy a trusted certificate without the headache.
When to Use a Self-Signed Certificate Safely
Despite the browser warnings, self-signed certificates have legitimate and essential applications within controlled IT environments. They are the ideal tool for situations where you, the administrator, can personally vouch for every device and user on the network.
Their primary strength is in development, testing, and pre-production staging. When you spin up a new application on an ARPHost VPS Hosting plan, a self-signed certificate lets you enable HTTPS immediately. This allows you to test secure connections, API calls, and application features without the cost or validation delays of a public certificate, all while maintaining the exact same level of encryption.
Internal and Private Network Services
Another perfect use case is securing internal services that are not exposed to the public internet. These are the management interfaces and backend tools that form the backbone of modern infrastructure.
- Proxmox VE Management: The web interface for your ARPHost Dedicated Proxmox Private Cloud uses a self-signed certificate by default. Since this runs on a private network accessible only to your team, you can safely create a security exception in your browser.
- Internal Dashboards & APIs: Company wikis, monitoring tools like Grafana, or internal API endpoints are excellent candidates. The goal is to encrypt traffic on your local network, not to prove identity to the public.
- Device-to-Device Communication: IoT devices or backend microservices communicating within a secure, private network can use self-signed certificates to ensure traffic is encrypted without the overhead of a public CA.
This diagram illustrates the standard chain of trust that public certificates rely on—and that self-signed certificates bypass for internal use.
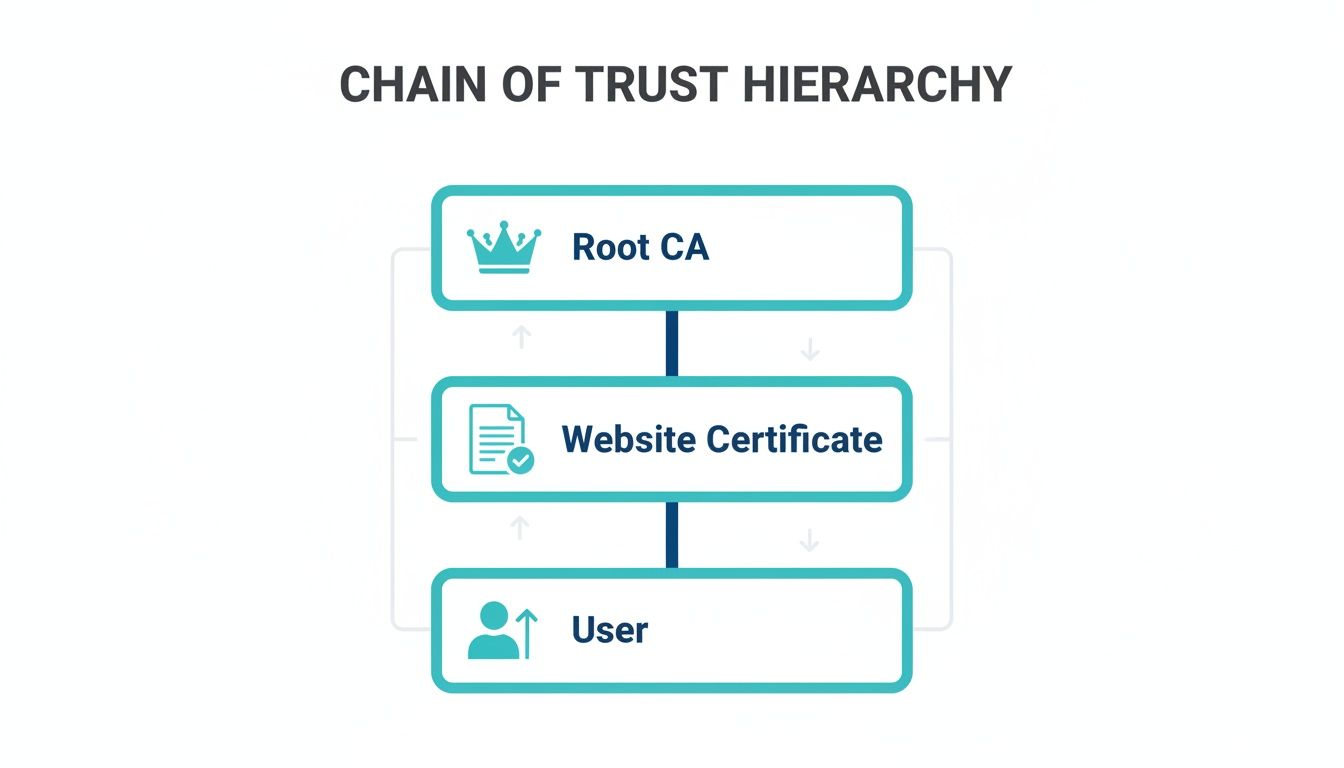
In a controlled private environment, the trusted Root CA is unnecessary because you are the trusted authority who has verified the endpoint.
While simple to generate, using a self-signed certificate in a production environment is a major risk. Today, 88.08% of websites worldwide use trusted HTTPS, but a surprising number of the rest rely on insecure setups like self-signed certs, leaving them wide open to attack. If you want to dig deeper into these numbers, you can find detailed SSL/TLS statistics on NetworkSolutions.com.
The Security Risks of Public Self-Signed Certificates
Using a self-signed certificate on a public-facing website is a critical security mistake. While it enables encryption, it simultaneously creates a major vulnerability by leaving the door wide open for man-in-the-middle (MITM) attacks.
An attacker can easily intercept traffic destined for your server, present their own fraudulent self-signed certificate for your domain, and the visitor's browser will display the exact same "Your connection is not private" warning. There is no way for a user to distinguish between your legitimate server's warning and a malicious imposter's. Both appear equally untrustworthy.
The Business Impact of Untrusted Certificates
That browser warning is not just a technical issue; it's a conversion killer and a brand destroyer. When a potential customer encounters a massive error page instead of a reassuring padlock icon, the consequences are immediate:
- Lost Revenue: No user will enter payment information on a site flagged as insecure.
- Damaged Reputation: Your brand instantly appears unprofessional and untrustworthy, eroding customer confidence.
- Poor SEO Performance: Google and other search engines penalize sites that are not properly secured with a trusted certificate, harming your search rankings.
The bottom line is simple: a self-signed certificate trains your users to click through security warnings, which is a disastrous habit to teach them. For any public service, a trusted, CA-signed certificate is non-negotiable. It protects your users, your data, and your brand's integrity.
Properly securing your infrastructure is a foundational part of any professional IT strategy. Deploying a trusted certificate is one of the first and most vital steps in protecting your online presence. You can dive deeper into other essential security measures in our complete guide on website security best practices.
Deploying Rock-Solid Security with Trusted Alternatives
When development is complete, transitioning from a self-signed certificate to a trusted, CA-signed one is a mandatory step for any public-facing service. This move secures your data, earns visitor trust, and protects your brand. Fortunately, deploying robust security doesn't have to be complex or expensive.
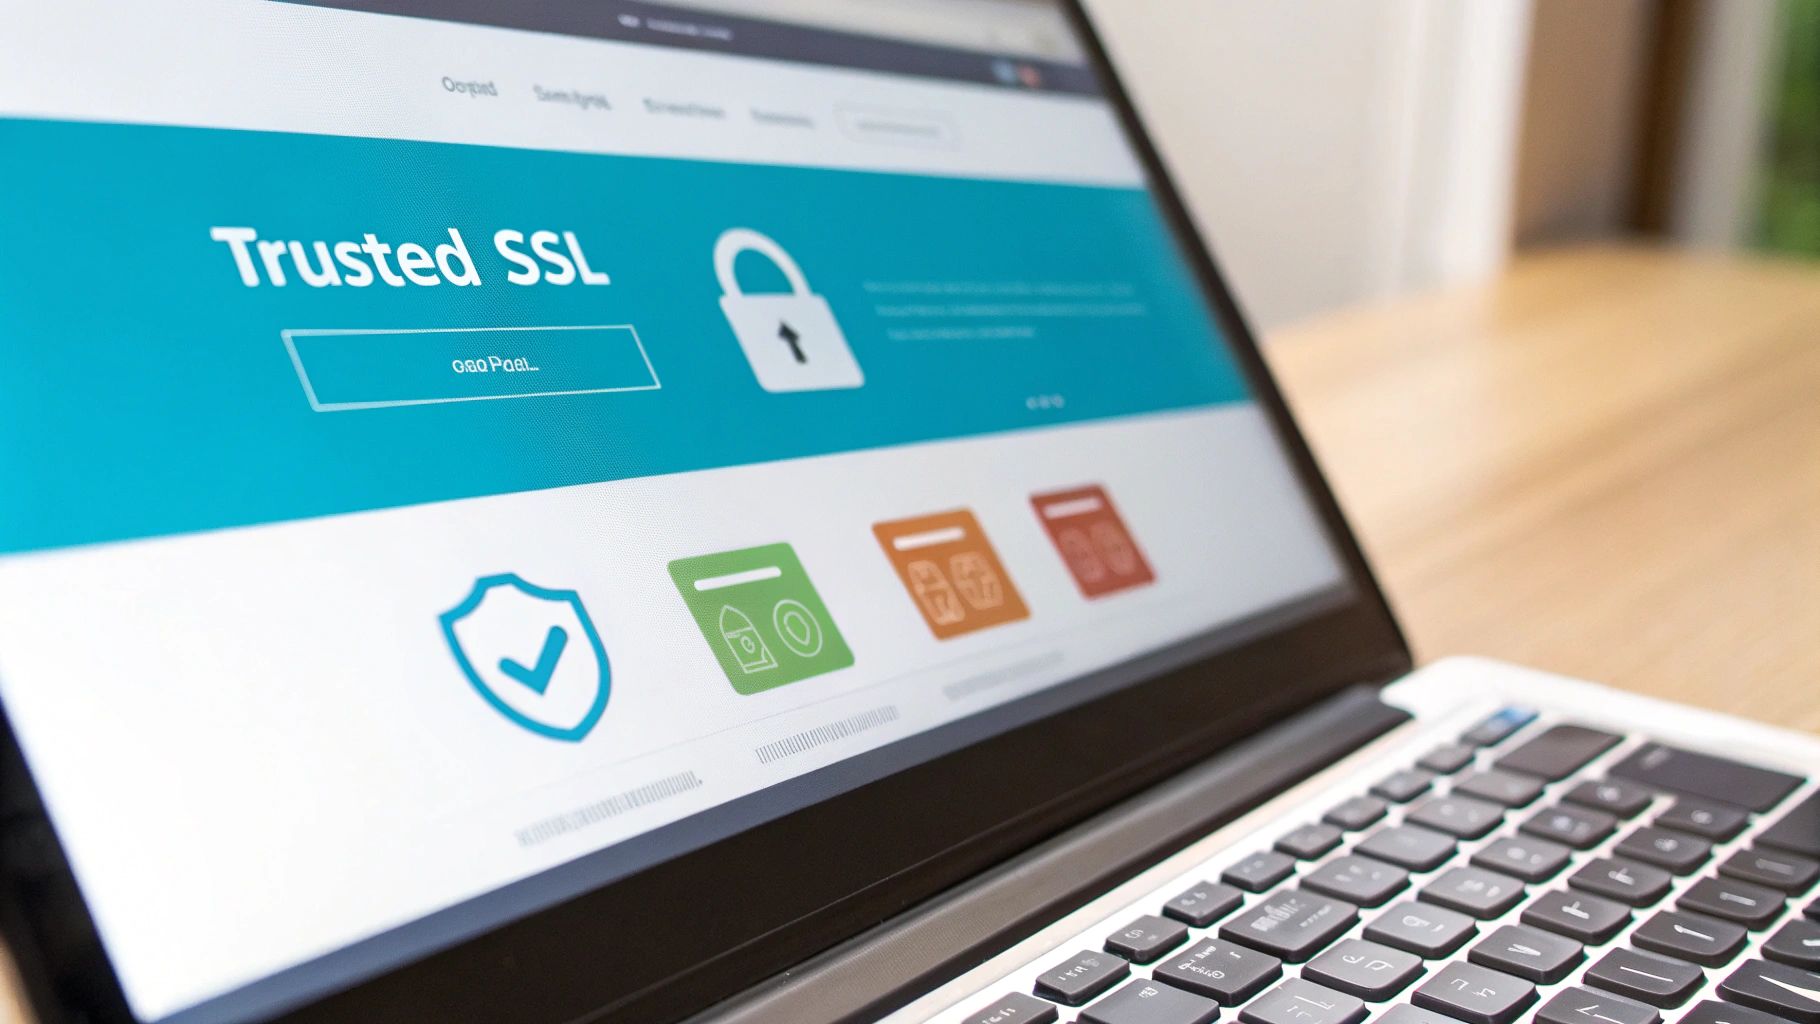
The most common solution for public websites is Let’s Encrypt, a free and automated CA. At ARPHost, we simplify this process even further. Our Secure Web Hosting bundles include the Webuzo control panel, which lets you issue and install a valid, trusted SSL certificate with just a few clicks. This allows you to eliminate browser warnings and secure your site in minutes.
Upgrading to Premium Certificates for Higher Assurance
For businesses handling sensitive data, such as e-commerce platforms or financial services, paid certificates from established CAs offer a higher level of assurance. These options include warranties and involve a more rigorous validation process to confirm your organization's legal identity, which sends a powerful signal of trust to your customers.
While self-signed certificates have their place in private environments, relying on them for commercial sites would undercut the market for trusted CAs. The global Certificate Authority market is projected to grow from $208.68 million in 2025 to $396.58 million by 2031, a surge driven by the growing demand for verified digital identities. You can explore these market dynamics and read the full research about certificate authority trends.
This is where ARPHost’s fully managed IT services excel. We can handle the entire SSL lifecycle for you—from purchasing and validation to expert installation and automated renewals. Your site remains protected without you lifting a finger. For a technical walkthrough, see our guide on how to configure an SSL certificate.
Why ARPHost Excels Here
We integrate security into the core of our hosting solutions, making the upgrade from a self-signed certificate a seamless and robust process.
- Automated Security: Our Secure VPS Hosting plans (starting at just $5.99/month) include tools like Webuzo that automate Let’s Encrypt installation and renewals.
- Expert Management: For complex environments like a Dedicated Proxmox Private Cloud, our managed services team provides hands-on assistance to install and manage custom or high-assurance certificates.
- 24/7 Support: Whether you're running a small business site or a large-scale enterprise application, our expert team is always available to ensure your SSL configuration is flawless and your data is protected around the clock.
Common Questions About Self-Signed Certificates
Here are answers to common questions IT professionals have about self-signed certificates.
Does a Self-Signed Certificate Actually Encrypt My Data?
Yes, absolutely. A self-signed certificate provides the exact same strong level of encryption as a certificate from a trusted CA. The cryptographic algorithms used to secure the data in transit are identical. The critical difference is authentication, not encryption. The browser cannot verify the server's identity, which is why it displays a security warning.
How Do I Create a Self-Signed SSL Certificate?
Generating one is straightforward using command-line tools like OpenSSL, which is pre-installed on most Linux distributions, including the OS images for ARPHost's VPS hosting and Bare Metal Servers.
A standard one-line command is:openssl req -x509 -newkey rsa:4096 -keyout key.pem -out cert.pem -days 365 -nodes
This command generates a private key (key.pem) and a public certificate (cert.pem) valid for one year. It is perfect for internal testing but must be replaced with a CA-signed certificate before going live.
Remember, the simplicity of creation is what makes a self-signed SSL certificate so useful for internal testing but so dangerous for public-facing services. Anyone can create one, which is why they cannot be trusted to verify identity.
Why Does My Proxmox Server Show a Security Warning?
By default, Proxmox VE uses a self-signed certificate to secure its web management interface. Your browser shows a warning because the certificate's issuer (the Proxmox server itself) is not on its list of trusted CAs. For an internal management tool on a private network, this is expected and generally safe. You can create a permanent security exception in your browser for that specific address. For enhanced security or to eliminate warnings for your team, ARPHost's managed services can install a trusted certificate on your Dedicated Proxmox Private Cloud.
At ARPHost, we believe security should be powerful yet simple to manage. From automated SSL on our secure VPS plans to fully managed certificate lifecycles on your dedicated infrastructure, we provide the tools and expertise to keep your operations protected.
Explore our Secure VPS Hosting bundles starting at just $5.99/month and build your next project on a secure-by-design foundation.