

A working sudo account only needs sudo passwd to replace the local root password without rebooting. For a full lockout on RHEL 8 or 9, use the console and the distro row below, not the SSH connection that's already failing.
You're probably encountering a rejected root password at the console or an SSH authentication failure while a service needs attention. Before restarting anything, determine whether you've lost a local password, an SSH key, sudo authorization, or access to the disk. Root password recovery in Linux repairs local authentication, not every path into the machine.
Table of Contents
- Pick the Recovery Path Before You Reboot
- Identify What Was Lost Before Editing GRUB
- Reset the Password from GRUB Step by Step
- Recover from Live Media or a Provider Console
- Prevent the Next Lockout and Close the Console Path
- Confirm Access Before You Close the Console
Pick the Recovery Path Before You Reboot
The symptom may be a rejected password at the console. Over SSH, it can look like this:
Permission denied (publickey,password).
That message doesn't prove the root password is wrong. SSH policy, missing keys, and account restrictions can produce an authentication failure without involving the local root password.
Use a working administrative session first
If an authorized sudo user can still log in, keep that session open. For an unrestricted sudo administrator, reset the intended account interactively:
sudo passwd root
For an ordinary administrator named admin:
sudo passwd admin
Don't put the new password in a command argument, script, or support ticket. Open a separate session and check the intended user's privileges:
sudo -l
A restricted sudo account may not be allowed to run the password utility. In that case, use another authorized administrator or the approved console recovery path rather than broadening its privileges casually.
Root recovery method by distro and access
| Situation | Distribution or platform | Method | Commands that change the password |
|---|---|---|---|
| Sudo account still works | Any current Linux | No reboot | Run the privileged password command below |
| Local login lost, recovery menu available | Ubuntu and Debian installations with a usable recovery root shell | GRUB recovery root shell | Remount the installed root writable, then reset the administrator |
| Boots to GRUB but cannot authenticate | RHEL 8 and 9, AlmaLinux 9, Rocky Linux 9 | Temporary early-boot break and chroot | Remount the installed system, enter it, reset root, and request SELinux relabeling |
| Legacy runlevel recovery | RHEL 6 style | Single-user kernel argument | Reset the password in maintenance mode, then reboot |
| No local keyboard, provider owns the hypervisor | VPS, Proxmox guest, bare metal IPMI | Audited noVNC, serial, or rescue image | Use the applicable password or chroot sequence inside recovery |
| Volume will not unlock | LUKS or TPM-bound disk | Not a root password reset | Recovery key, escrow, backup, or rebuild |
The password-changing commands for these paths are:
# Working sudo session
sudo passwd root
sudo passwd admin

# Ubuntu recovery shell
mount -o remount,rw /
passwd admin

# RHEL-family early-boot shell
mount -o remount,rw /sysroot
chroot /sysroot
passwd
touch /.autorelabel

# Legacy maintenance shell
passwd
shutdown -r now
Confirm the system before interrupting boot
Use the installed release information, not a guess based on the login banner:
cat /etc/os-release
The Linux version identification guide explains the release checks when the distribution isn't obvious.
Red Hat's RHEL 6 recovery documentation describes rescue, single-user, and emergency environments, including password replacement from maintenance mode. Those older instructions aren't interchangeable with the early-boot procedure used on newer RHEL systems.
Practical rule: Confirm ownership before attaching a recovery console. Console access can confer administrative control even when normal login is unavailable.
Choose the applicable numbered distro procedure below. A password reset won't repair filesystem damage or recover deleted files, so don't treat it as a substitute for a tested backup.
Identify What Was Lost Before Editing GRUB
A password prompt and an encryption prompt represent different problems. Record the actual failure before editing boot parameters, especially if a firmware update, SSH policy change, or identity-system outage preceded it.
A recovery shell is useful only when the installed filesystem is accessible.
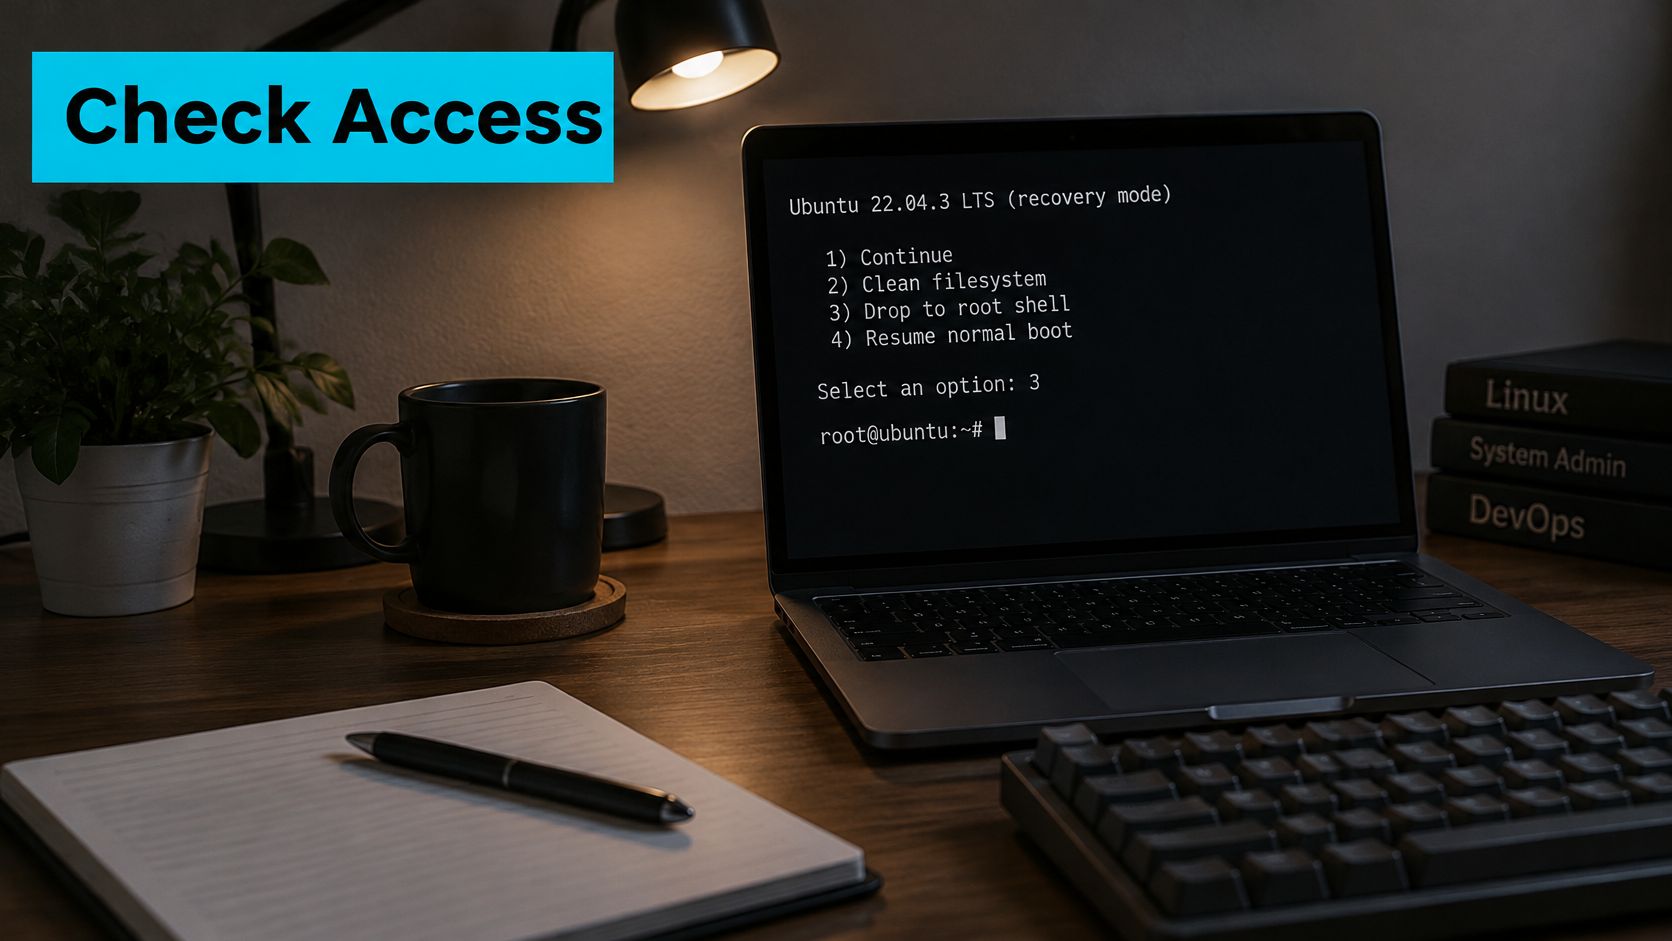
What was lost and whether passwd can fix it
| What failed | Where it lives | Does passwd fix it | What to do instead |
|---|---|---|---|
| Local root or sudo user's password | /etc/shadow | Yes, for a local password failure | Use an authorized maintenance shell, with relabeling on SELinux hosts |
| SSH key login only | ~/.ssh/authorized_keys and SSH configuration | No | Restore a key for a known sudo user |
| Sudo rights removed | /etc/sudoers and /etc/sudoers.d | No, password replacement doesn't restore authorization | Repair the sudoers drop-in from a privileged session or chroot |
| Central account | LDAP or Active Directory | No, not through a local root reset | Recover the directory account |
| LUKS passphrase or recovery key | LUKS keyslots | No | Use an available enrolled key, escrow, independently restorable backup, or rebuild |
| TPM unlock fails after boot change | TPM binding plus recovery key | No | Unlock with the recovery key, investigate the boot change, then re-enroll when appropriate |
Diagnose from any surviving session
From an authorized privileged session, inspect sudo authorization and effective SSH policy:
sudo -l -U admin
sudo grep -E '^[[:space:]]*(PermitRootLogin|PasswordAuthentication|Include|Match)' /etc/ssh/sshd_config
sudo /usr/sbin/sshd -T | grep -E '^(permitrootlogin|passwordauthentication|pubkeyauthentication) '
lsblk -f
The configuration-file check is a starting point. Included files and conditional Match sections can change behavior, so the main file alone isn't definitive.
An SSH key-only host may show:
passwordauthentication no
pubkeyauthentication yes
On such a host, resetting a password doesn't repair the missing authorized key. Restore the approved key and correct ownership rather than enabling remote root password login.
Stop when the missing secret is a disk key
Storage inspection may show a crypto_LUKS device with an active mapping beneath it. Inspect the actual encrypted partition's keyslots, substituting the device identified on your machine:
sudo cryptsetup luksDump /dev/nvme0n1p3
This displays metadata, not a recoverable plaintext passphrase. Cylab's Linux recovery guidance distinguishes password replacement from encrypted-storage recovery: the installed shell and authentication files remain inaccessible until the volume opens.
Don't keep attempting root resets at a LUKS prompt. Retrieve the recovery material from its separate storage location. For TPM-related failures, preserve the old configuration and investigate what changed before establishing a new binding.
A directory account requires the same discipline. Repair the identity source rather than creating a local credential that bypasses the organization's intended access controls.
Reset the Password from GRUB Step by Step
Have an authorized console open before rebooting. You need access to the boot menu, permission to interrupt the workload, and any required disk credential.
The GRUB menu is where you select recovery or temporarily edit the boot entry.
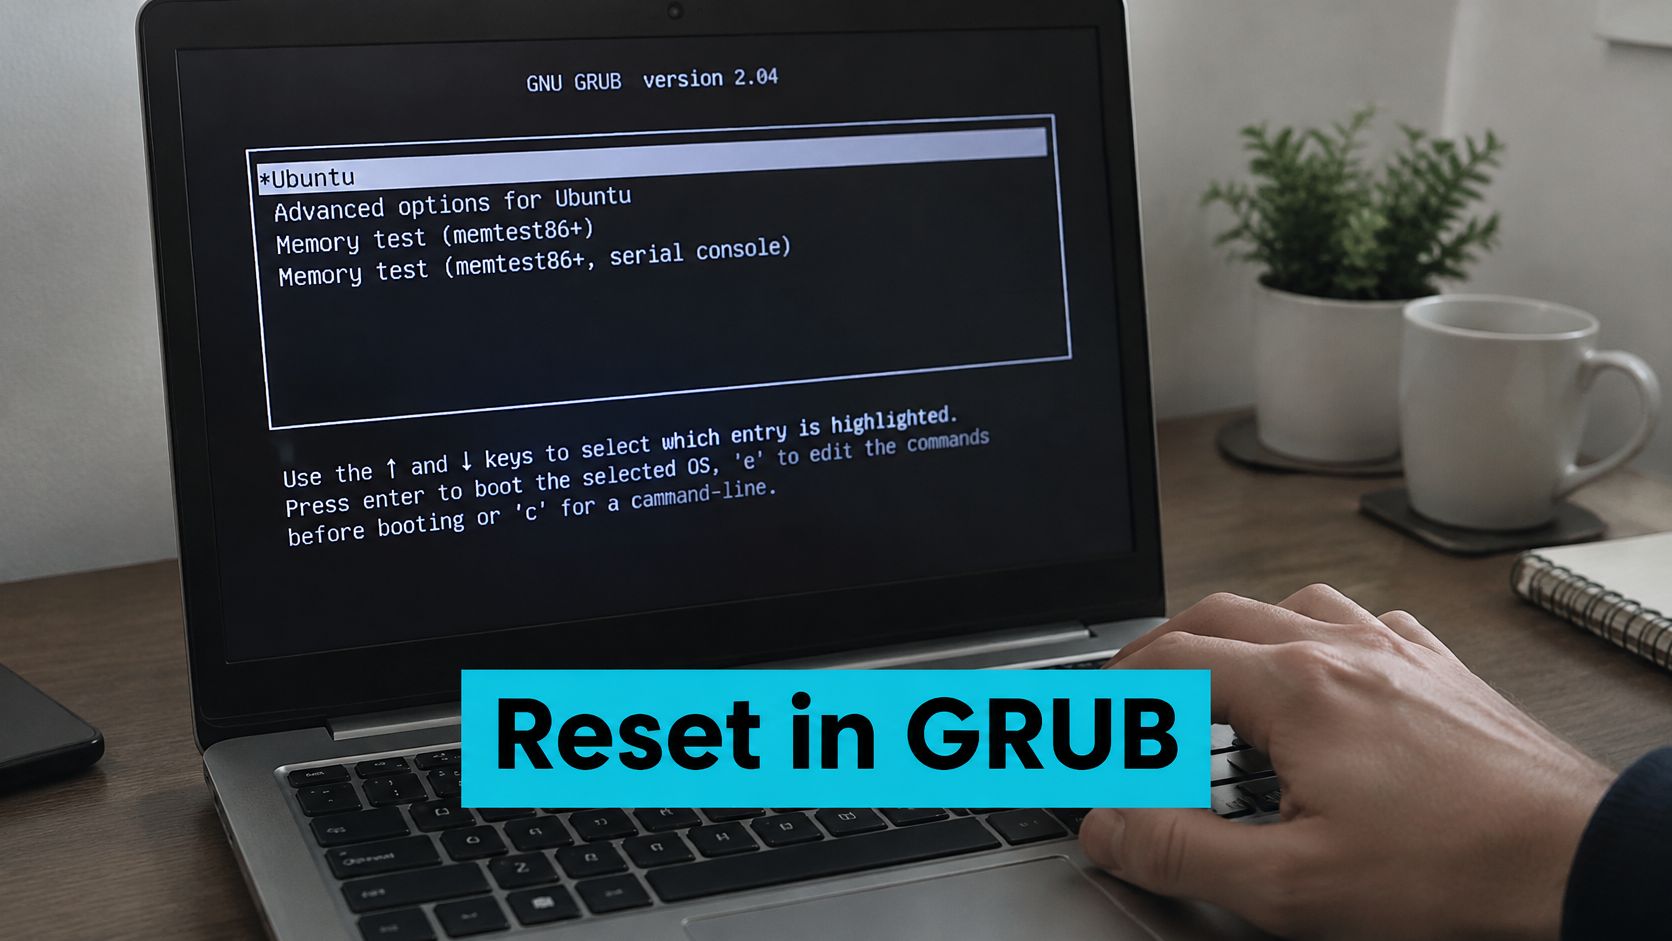
Ubuntu 22.04, Ubuntu 24.04, and Debian 12 recovery shells
Ubuntu commonly uses a locked root account and a sudo-enabled ordinary user. Debian's root-account configuration depends on installation choices; its recovery entry may require a root password, making live media necessary when that password is unavailable.
Display GRUB. Reboot through the console. Hold Shift on applicable BIOS installations or tap Esc during UEFI startup. Focus the virtual console first so it receives the keystrokes.
Open Advanced options, select the recovery entry, and choose the root shell if the installation offers an accessible one. Open encrypted storage when prompted.
Make the root filesystem writable. Skipping this can prevent the password database from being updated.
mount -o remount,rw /Reset the intended administrator. Replace admin with the actual local username rather than enabling root unnecessarily.
passwd adminFlush writes and reboot normally.
sync
reboot
Keep the console available while testing a fresh login and sudo access.
sudo -l
sudo /usr/sbin/sshd -t
A successful SSH configuration check normally produces no output. It validates syntax, not whether your particular key, password, or account is authorized.
RHEL 8, RHEL 9, AlmaLinux 9, and Rocky Linux 9
The Red Hat basic system settings guide describes the early-userspace recovery workflow and SELinux relabeling. RHEL 8's temporary GRUB changes documentation documents the temporary boot edit.
Highlight the normal boot entry and press e. Find the kernel line beginning with linux or the corresponding kernel directive on that installation.
Append the following argument, preserving the existing root-device and storage arguments:
rd.breakPress Ctrl+x to boot the edited entry. At the early shell, the prompt commonly resembles:
switch_root:/#Remount the installed system read-write:
mount -o remount,rw /sysrootWithout this, password replacement can fail with:
Authentication token manipulation errorEnter the installed operating system:
chroot /sysrootSet the root password and request a relabel:
passwd
touch /.autorelabel
sync
Don't skip the relabel marker. Incorrect SELinux contexts can prevent authentication or service startup even after the password changes successfully.
Leave the chroot, then leave the early-boot shell:
exit
exit
Let normal boot and relabeling finish. Don't interrupt the process merely because the system doesn't immediately present a login prompt.
The boot edit is temporary. If you edited a persistent boot configuration separately, restore that change before considering recovery complete.
Verify the result and diagnose failed logins
Use an independent administrative session:
sudo -l -U admin
sudo journalctl -u sshd -n 5 --no-pager
An unrestricted Ubuntu-style sudo rule may appear as:
(ALL : ALL) ALL
A successful key-based SSH login can include:
Accepted publickey for admin
RHEL-family sudo rules may use a different equivalent format. Ubuntu and Debian commonly log the SSH service under a different unit name:
sudo journalctl -u ssh -n 5 --no-pager
If the correct password still fails on an SELinux host after this procedure, check whether relabeling completed before changing the password again. Also inspect account status, expiration, and authentication policy rather than assuming every rejection is a bad hash.
This walkthrough provides a visual reference for console-based recovery:
Recover from Live Media or a Provider Console
Use live media when the installed bootloader is inaccessible, the recovery shell requires an unavailable credential, or the disk has been attached to another authorized recovery host. Choose a current rescue environment compatible with the installed filesystem, storage stack, and encryption tools.
On physical hardware, that may mean a bootable USB drive or remotely attached installation ISO.
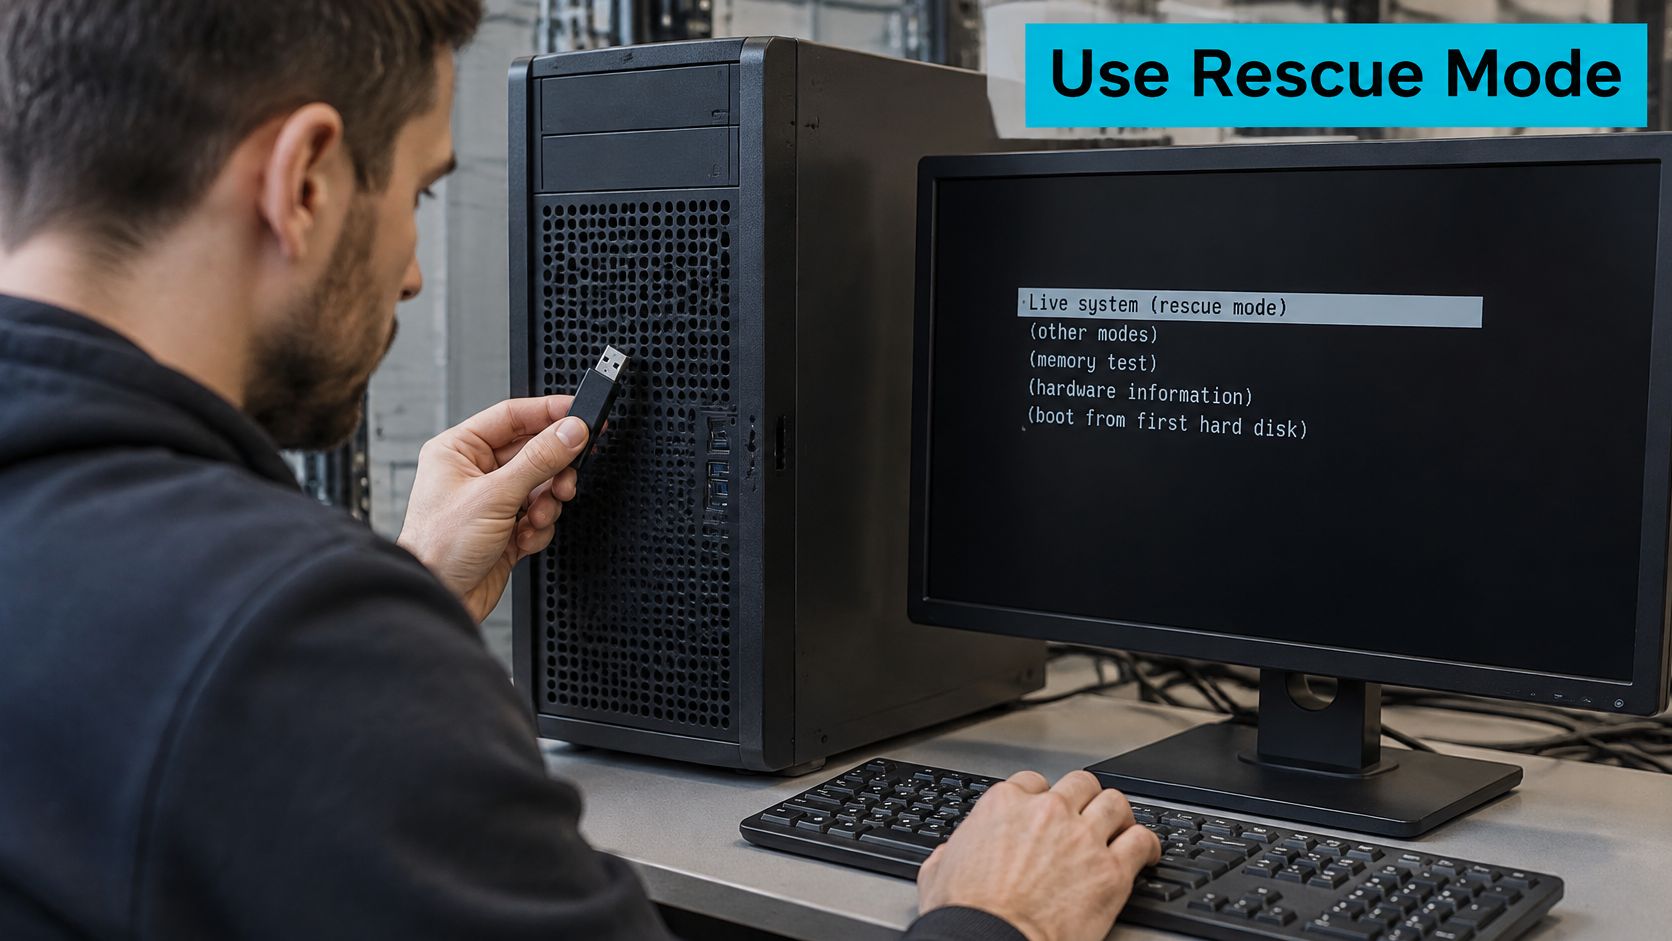
Mount and repair the installed system
Boot the rescue image and identify storage. Don't assume the root partition has the same device name it uses during normal boot.
lsblk -fAccess encrypted storage through the rescue environment's supported workflow. Stop if no authorized disk key is available. Activate the installed storage layout as necessary before mounting it.
Mount the installed root filesystem. This example assumes inspection identified a logical volume named root in the vg0 volume group:
mount /dev/mapper/vg0-root /mnt
ls /mnt/etc/os-release
Confirm that this is the installed operating system. Btrfs subvolumes and separately mounted system directories require their appropriate mount layout.
Bind the runtime filesystems, then enter the installation:
for directory in dev proc sys run; do
    mount --rbind "/$directory" "/mnt/$directory"
    mount --make-rslave "/mnt/$directory"
done
chroot /mnt /bin/bash
Reset the correct local account:
passwd adminOn an SELinux-enabled RHEL-family installation, also request relabeling:
touch /.autorelabelLeave the chroot, flush writes, and unmount the installed tree:
exit
sync
umount -R /mnt
If unmounting reports a busy filesystem, leave any shell whose working directory is inside it and identify the remaining user. Don't force detachment while writes are outstanding.
Detach the rescue image and reboot from the installed disk. Confirm authentication, sudo, and application service health.
The Ubuntu LostPassword documentation describes the writable-filesystem and account-password sequence that also underlies rescue-shell recovery. The important target is the installed system, not the temporary live environment.
Treat the provider console as privileged access
For a VPS, use the provider's authenticated noVNC, serial, or rescue workflow. For guests on Proxmox private clouds, recovery happens through the guest console or its rescue boot, not through a universal Linux password-reset API.
On multi-tenant infrastructure, the operational unit is the authorized guest and its ticket, not whichever console happens to be open.
A production recovery workflow verifies the owner, records console attachment, confirms the guest identity, and detaches rescue media afterward. Resetting the wrong guest or leaving an ISO attached can turn a credential incident into a service outage.
If compromise is suspected, preserve relevant logs and disk evidence before changing more state. Coordinate credential rotation with incident response rather than immediately erasing useful evidence.
Prevent the Next Lockout and Close the Console Path
Prevent repeat incidents by separating daily administration, emergency access, and infrastructure control. The Linux.com introduction to sudo explains the privilege-delegation model: administrators can perform authorized privileged work without distributing the root password.
Establish controlled administrative access
Use named sudo accounts. Verify authorization and syntax after changing a sudoers policy:
sudo -l -U admin
sudo visudo -c
Keep an approved break-glass account with credentials stored outside the machine. Record its use and test the recovery process during planned maintenance.
Protect boot editing. On supported RHEL-family installations, configure the bootloader password with:
sudo grub2-setpasswordOn Ubuntu or Debian, generate a PBKDF2 hash interactively:
grub-mkpasswd-pbkdf2Incorporating that hash into a root-owned script under the GRUB configuration directory requires deliberate boot-menu policy. Validate whether ordinary unattended boot remains allowed before deploying it. Regenerate the configuration afterward:
sudo update-grubDon't paste a generic superuser configuration into production without testing it. An incorrectly applied boot password can create another lockout.
Restrict IPMI, hypervisor administration, serial consoles, and noVNC access to named operators. Separate management access from ordinary application credentials, and record who opened each recovery session.
Test the controls without creating another outage
A bootloader password limits interactive edits; it doesn't replace restricted physical access or disk encryption. Store encryption recovery material separately and test that your restore procedure works on replacement hardware.
Use the server hardening checklist to review the surrounding controls after emergency access is restored. Account recovery shouldn't leave a temporary SSH exception or shared administrator credential behind.
Check the running kernel arguments after normal boot:
grep rd.break /proc/cmdlineNo output is the expected result. A matching argument means the recovery boot path still needs investigation.
Rotate exposed secrets according to the incident's scope. If an untrusted party could access the filesystem, account for SSH keys, deployment credentials, API tokens, and database secrets, not just the password you replaced.
Recovery boundary: Whoever controls the hypervisor, boot process, and accessible storage may be able to replace local authentication. Protect that layer as carefully as root itself.
For rollback, restore saved configuration files if your hardening changes reject legitimate access. Validate them from the still-open administrative session, then test a separate login before disconnecting. Don't restore an old authentication database casually, especially if it would reintroduce a compromised credential.
Confirm Access Before You Close the Console
A successful password utility exit isn't the acceptance test. Recovery is complete when the intended operator can administer the installed system through the approved access path and the machine boots without recovery assistance.
Run the closeout checks
Fresh authentication works. Open a new console or remote session. An existing shell doesn't prove the replacement credential works.
The intended account retains sudo. Check the actual user, not just root:
sudo -lSSH accepts the approved method. Validate configuration before any reload:
sudo /usr/sbin/sshd -tThe system completed normal boot. Inspect failed services and recent boot errors:
sudo systemctl --failed
sudo journalctl -b -p err --no-pager
SELinux is in the intended state. On applicable hosts, inspect its status and investigate relevant denials:
getenforce
sudo journalctl -b --no-pager | grep -i 'avc:.*denied'
Recovery dependencies are removed. Confirm the rescue ISO is detached, provider rescue mode is disabled, and the normal disk is selected for boot.
Temporary changes are accounted for. Remove emergency access exceptions and document which credentials or keys were replaced.
If you restored key access, follow the SSH key setup guide to check the account's key installation and permissions. Keep the recovery console attached until a separate connection succeeds.
Escalate the failure that remains
Return to the failed-secret diagnosis when authentication still doesn't work. Repeating password replacement won't repair directory authentication, a missing authorized key, an expired account, or an inaccessible encrypted volume.
Escalate to the storage or incident-response owner when the filesystem reports corruption, the disk cannot be accessed, or the evidence suggests unauthorized access. Escalate through the provider's ownership-verification process when nobody authorized can reach IPMI, noVNC, or the physical machine.
Record the change, the verification results, and the remaining follow-up work. Preserve the old configuration for controlled rollback, but don't undo a successful credential rotation merely to reproduce the original incident.
For operators who want console recovery handled under an authorized account ticket, ARPHost, LLC offers infrastructure and managed IT support. Use its managed services to discuss recovery-console access, credential repair, and post-reset verification before scheduling an interruption.

Leave a Reply
You must be logged in to post a comment.