

To prevent data loss, you can’t rely on a single tool or strategy. It requires a multi-layered defense that weaves together robust backup architectures, proactive security controls, and a clear, tested recovery plan. Real resilience in a virtualized infrastructure comes from integrating these core pillars to counter everything from a simple hardware failure on a Proxmox node to a sophisticated ransomware attack targeting your VMs.
Building Your Data Protection Foundation
Data loss isn’t an “if” but a “when” scenario for any IT infrastructure. The threats come from all angles, accidental deletions, hardware meltdowns, malicious actors, or even a burst pipe in the server room. Attempting to solve this with a single-minded approach, like only keeping on-site backups, leaves critical vulnerabilities in your defenses, especially in environments running KVM or LXC containers.
A solid data protection foundation acknowledges this reality and builds a resilient framework to handle it.
This means thinking beyond just making copies of files. It’s about creating an entire ecosystem where your data is protected whether it’s at rest on a ZFS datastore, in motion during a VM migration, or being restored after a disaster. For a closer look at the nuts and bolts, it’s worth exploring comprehensive data protection strategies to see how all the pieces fit together. Ultimately, prevention is always cheaper and less disruptive than a full-blown recovery effort.
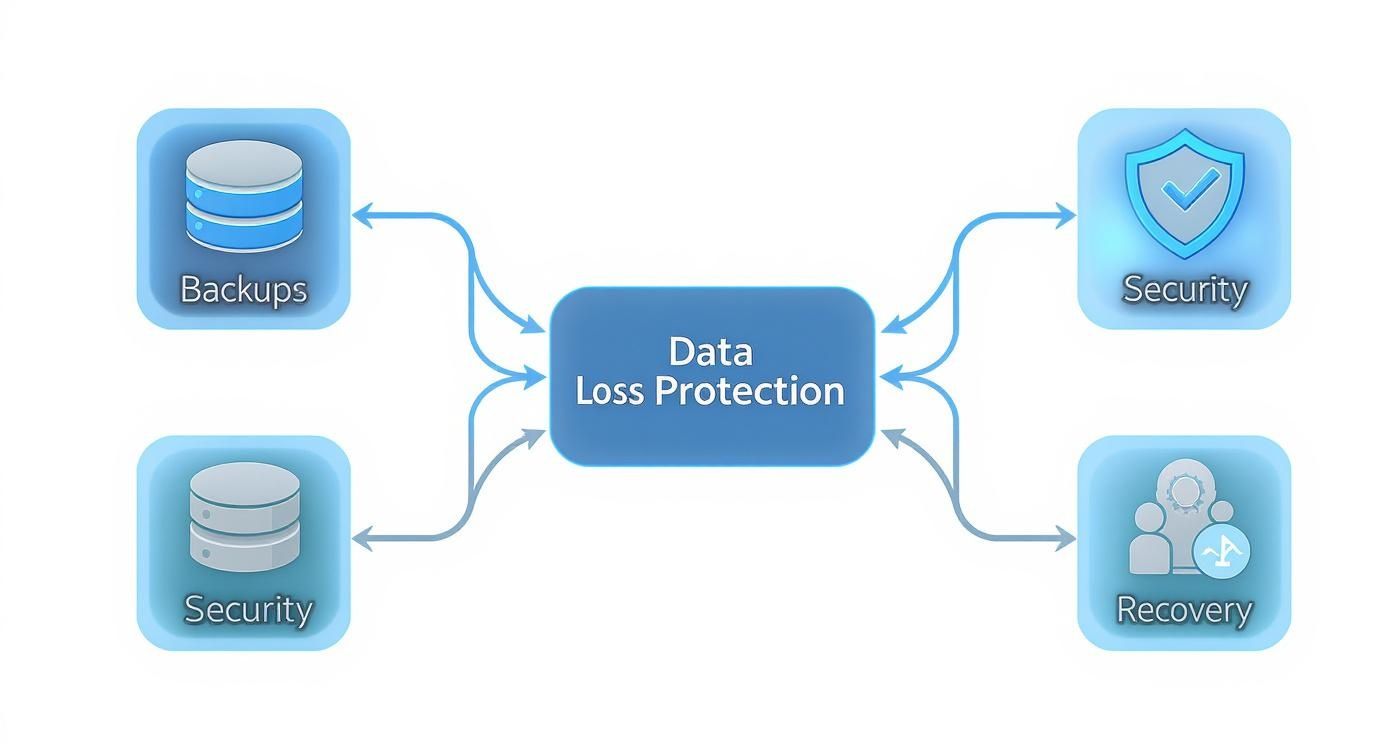
As you can see, a truly effective plan integrates multiple defensive layers. Relying on just one is a single point of failure waiting to happen.
The Modern Gold Standard: Evolving the 3-2-1 Rule
For years, the 3-2-1 backup rule was the mantra: keep 3 copies of your data on 2 different media types, with 1 copy off-site. It’s a solid start, but modern threats have changed the game. Ransomware now actively hunts for and encrypts backup files, rendering the old rule insufficient on its own.
Enter the new gold standard for enterprise IT: the 3-2-1-1-0 rule.
- Keep 3 copies of your data.
- Store them on at least 2 different types of media (e.g., local disk and cloud object storage).
- Ensure 1 copy is stored off-site.
- Make sure 1 of those copies is offline, air-gapped, or immutable, meaning it can’t be altered or deleted.
- And finally, have 0 errors after regularly testing your backup integrity and recovery procedures.
This updated framework directly counters modern cyber threats by adding that crucial layer of immutability—a key feature for protecting virtual server environments.
Mapping Threats to Your Defenses
To build a solid defense, you first have to understand what you’re up against. The table below breaks down the common causes of data loss and aligns them with the specific strategies we’ll be discussing. Think of it as your cheat sheet for building a resilient plan for your private cloud or bare metal servers.
Mapping Common Threats to Foundational Defenses
| Threat Vector | Primary Cause | Foundational Defense Strategy |
|---|---|---|
| Human Error | Accidental rm -rf / or VM deletion. | Granular backups (e.g., Proxmox Backup Server) for point-in-time recovery of specific VMs or files. |
| Hardware Failure | Hard drive crashes, server PSU failure, network card malfunction. | Off-site backups and replication to a secondary location (colo/private cloud). |
| Ransomware | Malicious encryption of VM disks and backup files. | Immutable, air-gapped backups that cannot be altered by attackers. |
| Software Corruption | Failed OS patch, bugs, or database inconsistencies. | Versioned backups and regular, automated recovery testing in an isolated environment. |
| Physical Disaster | Fire, flood, theft, or other on-site catastrophes. | Geographic redundancy with a tested Disaster Recovery (DR) plan. |
This isn’t just a theoretical exercise. In 2025, a staggering 67.7% of businesses worldwide reported a significant data loss incident in the past year. That number should be a wake-up call for any sysadmin who thinks it “won’t happen to them.”
This guide is your technical roadmap for putting these principles into action. We’re moving from high-level strategy to the hands-on configurations you need to implement a rock-solid plan for your virtual server management.
Putting a Resilient Proxmox Backup Architecture into Practice
Theory is one thing, but execution is where your data protection strategy comes to life. For this, Proxmox Backup Server (PBS) is an industry-leading tool. It’s a powerful, open-source solution built specifically for virtual environments, giving you an enterprise-grade toolkit for managing VM and container backups without the enterprise price tag. We’re not just making simple copies here; we’re creating smart, efficient, and secure backups.

The real advantage of PBS lies in its incremental, deduplicated backups. Instead of wastefully copying an entire VM disk image every time, it intelligently saves only the data blocks that have changed since the last backup. This is a game-changer for storage and network bandwidth, making frequent backups—even for large VMs—not just possible, but practical.
Getting Proxmox Backup Server Up and Running
First, you need to install PBS. You can deploy it on a dedicated bare-metal server or a VM, but for any production workload, a physical server is the best practice. It provides superior I/O performance and isolates your backup environment from your production virtualization cluster. Once installed, you’ll create a local datastore.
The command line offers the most direct path. You’ll need to prepare a disk—we’ll use /dev/sdb as an example—with ZFS to leverage its checksumming and data integrity features.
# Create a new ZFS pool named 'pbs-datastore' on the disk /dev/sdb
# The -f flag forces creation, and ashift=12 is optimal for 4K sector drives
zpool create -f -o ashift=12 pbs-datastore /dev/sdb

# Create a ZFS filesystem within the pool to host the datastore
zfs create pbs-datastore/backups

# Create the datastore in Proxmox Backup Server, pointing to the ZFS mountpoint
proxmox-backup-manager datastore create main-backups /pbs-datastore/backups
With the datastore ready, connect your Proxmox VE hosts to this backup server. This is done in the Proxmox VE web interface: add a new “Proxmox Backup Server” storage target, point it to your PBS instance’s IP, and provide the credentials.
Crafting Smart Retention Policies
A common misstep is keeping too few or too many backups without a defined strategy. PBS lets you configure sophisticated retention policies to balance recovery needs with storage costs, ensuring you always have the right recovery points available.
Here’s a practical, tiered policy aligned with IT best practices:
- keep-daily: 7 (Keeps one backup per day for the last 7 days)
- keep-weekly: 4 (Keeps one backup per week for the last 4 weeks)
- keep-monthly: 12 (Keeps one backup per month for the last 12 months)
- keep-yearly: 3 (Keeps one backup per year for the last 3 years)
This approach gives you granular, short-term recovery options while retaining long-term archives for compliance or major disaster recovery. You configure these settings directly on the backup job in Proxmox VE, allowing for different policies per VM or group of VMs.
A well-defined retention policy is the cornerstone of efficient data management. It directly impacts your ability to meet Recovery Point Objectives (RPO) and prevents backup storage from spiraling out of control.
Building a Hybrid Model for True Redundancy
On-site backups are fast, but they’re a single point of failure if your data center floods or loses power. This is where the “1” in the 3-2-1 rule—one copy off-site—becomes absolutely critical. To achieve this, you need a hybrid model that synchronizes your local PBS backups to a geographically separate, remote location.
You have two solid options for this off-site copy:
- Your Own Colocation: You can set up another PBS instance on a bare metal server in a colocation facility. PBS has a built-in “Sync Job” feature designed for this, letting you efficiently replicate datastores between two servers.
- Backup as a Service (BaaS): A simpler and often more cost-effective route is to use a managed BaaS provider. This offloads the management of remote infrastructure, giving you a secure off-site target without the capital expenditure of buying and maintaining your own equipment.
For teams looking to perfect their off-site strategy without added complexity, a specialized service is a clear choice. You can learn more about how a managed Proxmox Backup as a Service solution provides immutable, encrypted storage to complete your data protection plan.
Setting up a sync job is straightforward. On your primary PBS, you add a “remote” that points to your second PBS instance. Then, you create a sync job to pull data from your local datastore to the remote one on a schedule. This set-it-and-forget-it method ensures your off-site copies are always current, solidifying your defense against a site-level disaster.
Automating Failover with VM Replication
Backups are your lifeline for restoring data, but replication is what keeps your business operational. Backups restore data after a disaster; replication ensures your services barely skip a beat during one. To avoid costly downtime, you need a high-availability (HA) environment, and Proxmox VE provides the tools to build one.

The strategy is to create a nearly real-time, asynchronous copy of your critical virtual machines on a secondary Proxmox cluster. If your primary site goes dark, you failover to the replica. This approach directly addresses your Recovery Time Objective (RTO), reducing it from hours or days to mere minutes.
Setting Up Storage Replication in Proxmox VE
Before you can replicate a VM, you must configure the underlying storage replication. Proxmox has a native integration with ZFS, which uses its snapshot and send/receive features to move data between nodes with exceptional efficiency. The goal is to establish a scheduled synchronization between your primary and secondary storage pools.
Imagine you have two Proxmox clusters: one at your primary site (Site-A) and another at a disaster recovery site (Site-B). For this to work seamlessly, both sites should ideally be part of a single Proxmox cluster or have proper inter-cluster authentication configured.
Here is a step-by-step guide to setting this up from the Proxmox web interface:
- Navigate to Datacenter > Storage and select the ZFS storage pool on your primary node that hosts the critical VMs.
- Go to the Replication tab and click Add to create a new storage-level replication job.
- Define the Target node and Target Storage pool at your secondary site (Site-B).
- Set the Schedule. A common best practice for critical workloads is every 15 minutes. This provides a good balance between data freshness (RPO) and network load.
This setup creates a one-way sync. Proxmox takes a ZFS snapshot, calculates the delta since the last run, and sends only the modified blocks to the target. It’s highly efficient.
Configuring and Executing a VM Failover
With storage replication configured, you can now enable replication for specific virtual machines. This is handled on a per-VM basis, giving you granular control over which workloads are protected.
To enable VM replication:
- Select the target VM.
- Navigate to the Replication tab in its settings.
- Click Add to create the new job.
- Specify the target node at your DR site.
- The schedule is automatically inherited from the underlying storage replication job.
Once enabled, Proxmox maintains a replica of that VM at your secondary site. If your primary site fails, you can initiate a failover. This is a manual step by design to prevent a “split-brain” scenario where both VMs become active simultaneously, which can lead to data corruption.
To perform the manual failover, you use the pvesr (Proxmox VE Storage Replication) command-line tool on the destination node.
# Force promotion of the replicated VM disk image on the DR node
# This makes the replica the new primary and allows it to be started
pvesr manage-local-job <VMID> --force 1
Proxmox’s replication is built for asynchronous disaster recovery, not automatic, instantaneous high availability. This is a deliberate choice. It puts administrators firmly in control of the failover process, preventing unintended side effects while guaranteeing a reliable path back to operational status.
Optimizing Network Traffic for Replication
Replication depends on a stable, secure, and low-latency network connection between your primary and secondary sites. The required bandwidth is directly proportional to your data change rate (churn).
For any business with significant data churn, network optimization is mandatory.
A best practice is to use dedicated network interfaces (NICs) and a separate VLAN for replication traffic. This isolates it from production user traffic, so a large sync job won’t impact application performance.
On your Juniper network devices, configure Quality of Service (QoS) to prioritize replication packets, ensuring they are not dropped during periods of network congestion.
# Example Juniper Junos OS QoS configuration snippet
# This prioritizes traffic marked with a specific forwarding class
class-of-service {
    forwarding-classes {
        queue 3 replication-traffic class best-effort;
    }
    interfaces ge-0/0/1 {
        scheduler-map replication-scheduler-map;
    }
}
Finally, the connection must be secure. A site-to-site IPsec VPN or a dedicated private link is essential to encrypt replication data in transit, protecting it from interception and fulfilling data loss prevention requirements.
Implementing Strong Access Controls and Encryption
Your backups and replication are your lifeline, but the best strategy is stopping a breach before it starts. While external threats are significant, many data loss incidents originate internally—often from simple human error. This is where strong access controls and non-negotiable encryption become your front-line defense, protecting your data at the source.
This approach helps neutralize the most unpredictable variable in any security plan—people. A 2025 study found that just 1% of users were responsible for a staggering 76% of all data loss events in the organizations studied. This statistic underscores the criticality of solid internal policies.
Lock It Down: Least Privilege with RBAC in Proxmox
The principle of least privilege is a cornerstone of IT security. The concept is simple: grant users access only to the data and systems they absolutely need to perform their jobs, and nothing more. In a Proxmox environment, you implement this with Role-Based Access Control (RBAC). Instead of distributing root access, you create specific roles with granular permissions.
For instance, a junior sysadmin might need to monitor VMs and run backups but should not have the authority to create or delete them.
Step-by-step implementation:
- Navigate to:
Datacenter > Permissions > Roles. - Create a role: Click Create and name it
BackupOperator. - Assign privileges: Grant this role privileges like
VM.BackupandDatastore.View, but exclude destructive permissions likeVM.AllocateorVM.PowerMgmt. - Assign the role: Under
Datacenter > Permissions, assign this new role to specific users or groups for a particular resource path (e.g.,/vms/101).
This simple step ensures that a compromised junior account or an accidental pct destroy command cannot bring your entire infrastructure down.
Encryption: Your Non-Negotiable Last Line of Defense
Encryption is a fundamental requirement in modern IT. It ensures that even if an attacker gains physical access to your hardware or intercepts network traffic, the data remains unreadable garbage.
Full-Disk Encryption with LUKS on Bare Metal
For the bare-metal servers running Proxmox VE or PBS, Linux Unified Key Setup (LUKS) is the standard for full-disk encryption. During the Proxmox installation, you have the option to encrypt the root filesystem with LUKS. Always select this. It protects the OS and all data on the drive. If a server is physically stolen, the thief possesses an encrypted, unusable piece of hardware, not your sensitive data.
Client-Side Encryption in Proxmox Backup Server
Proxmox Backup Server (PBS) adds another powerful layer with its client-side encryption. When configuring a backup job from a Proxmox VE host, you can generate an encryption key that only you control.
Here’s the critical part: This encrypts the backup data before it leaves the Proxmox VE host. Your PBS instance only ever stores scrambled, encrypted data chunks. The key is never stored on the backup server, rendering the data useless to anyone who might compromise it. This is a game-changer for meeting compliance standards and protecting off-site backups.
Combining tight RBAC with these multiple layers of encryption creates a formidable defense. You control who can perform actions, and you ensure the data itself is protected no matter where it resides. Bolstering this with strong Endpoint Security Solutions helps lock down the admin workstations that access your infrastructure, closing another common attack vector.
Pulling this all together with strategies like off-site and immutable backup solutions creates the kind of multi-layered, defense-in-depth security that modern IT demands.
Creating and Testing Your Disaster Recovery Plan
Your backups and replication are the safety net, but what happens when you actually fall? That’s where a disaster recovery (DR) plan comes in. It’s the playbook that tells your team exactly what to do when a real crisis hits—no guesswork, no panic, just a clear path forward.
Frankly, an untested DR plan is just a document collecting digital dust. To genuinely prevent data loss and slash downtime, you need a strategy that’s actionable, documented, and validated. Something everyone on your team can execute under extreme pressure.
This plan becomes your single source of truth in an emergency, preventing panicked mistakes and ensuring a methodical return to operations. With IT getting more complex and attacks more frequent, this isn’t just a good idea; it’s essential. The global data loss prevention market is expected to hit a staggering $94.09 billion by 2030, driven by these very challenges.
Define What Recovery Actually Means
Before you can build the plan, you have to define the goal. What does “recovered” look like for your business? This boils down to two critical metrics:
- Recovery Time Objective (RTO): This is your downtime tolerance. How long can a specific system be offline before it causes serious damage? For your main database, the RTO might be just 15 minutes. For a less critical internal tool, maybe you can live with 24 hours.
- Recovery Point Objective (RPO): This defines how much data you can afford to lose, measured in time. If your e-commerce site has an RPO of 5 minutes, you’d better be backing it up or replicating it at least that often.
With your RTOs and RPOs set, it’s time to get brutally honest about your infrastructure. Not all servers are created equal. You need to identify and prioritize your mission-critical systems—from core databases and authentication services to the web servers your customers interact with—so you know what to bring back online first.
Nail Down Your Communications Protocol
Technical recovery is only half the battle. When things go sideways, communication is just as critical. A solid DR plan clearly outlines who gets called, when, and how. Think of it as a “communications tree” that includes:
- Key technical staff and their exact roles in the recovery.
- Business stakeholders and executives who need high-level status updates.
- A client communication plan to manage expectations and keep trust intact.
This protocol stops the chaos before it starts. It ensures information flows to the right people, preventing ill-informed decisions and keeping key players in the loop. For a deeper dive into building out a robust strategy, check out our complete guide on what is disaster recovery planning.
An effective DR plan is 20% technology and 80% process and people. Knowing how to restore a VM is one thing; knowing who has the authority to declare a disaster and approve the failover is what makes the plan work.
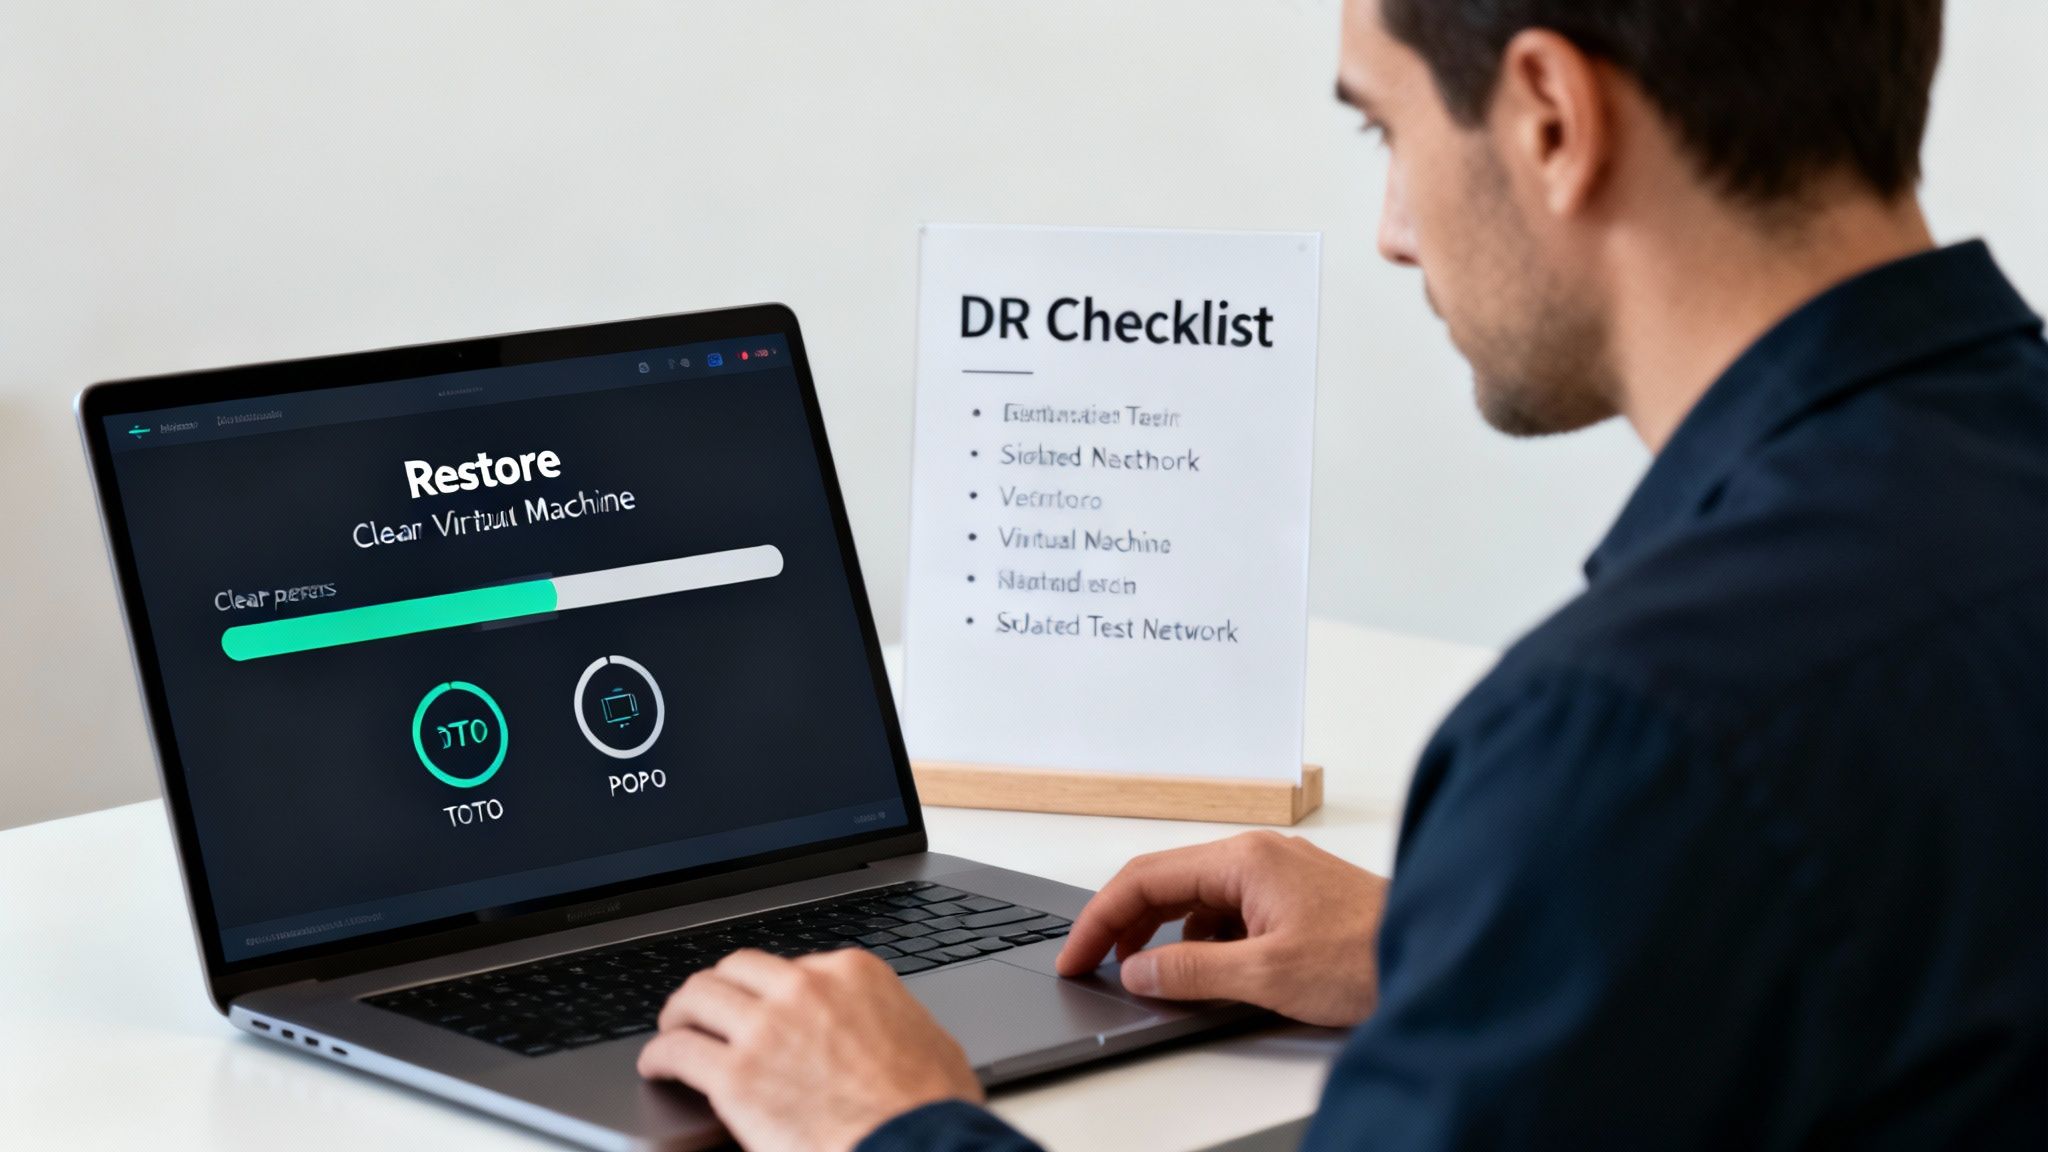
Run a Real-World Test in a Sandbox
This is where the rubber meets the road. A DR test validates your procedures, gets your team comfortable with the process, and—most importantly—exposes weaknesses before a real disaster does. The golden rule? Always test in a sandboxed environment to eliminate any risk to your live production systems.
Here’s how to do it using Proxmox VE:
- Build an Isolated Network: In Proxmox VE, create a new Linux Bridge (
vmbrX). Critically, do not assign a physical network interface (e.g.,eno1) or an IP address to it. This creates a self-contained “bubble” network, completely walled off from production. - Restore Your Critical VMs: Restore your mission-critical VMs from your Proxmox Backup Server. During the restore process, connect their virtual NICs to the new isolated bridge you just created.
- Check Functionality: Power on the restored VMs in the correct dependency order (e.g., domain controller first, then database server, then application server).
- Test Application Integrity: From a test machine also connected to your bubble network, verify functionality. Can you log in? Does the application perform as expected? Is the data consistent with your RPO?
This kind of hands-on validation proves your backups are good and your recovery steps are sound. When you schedule these DR tests regularly, your plan transforms from a hopeful document into a reliable, battle-tested procedure you can count on.
Common Questions on Data Loss Prevention
Even with the best-laid plans, a few common questions always pop up when you’re in the trenches, building out a data loss prevention strategy. Let’s tackle some of the ones I hear most often from IT pros, so you can move forward with total confidence.
What Is the Difference Between RPO and RTO in Disaster Recovery
This is a big one. RPO and RTO are the absolute bedrock of any disaster recovery plan, but they get mixed up all the time. They sound similar, but they measure two completely different—and equally critical—aspects of your recovery.
- Recovery Point Objective (RPO): Think of this as your data loss tolerance. It’s the maximum amount of data, measured in time, that your business can afford to lose. If your RPO is 15 minutes, it means you absolutely cannot lose more than 15 minutes of work. That number directly tells you how often you need to be backing up or replicating your systems.
- Recovery Time Objective (RTO): This one is all about downtime. RTO is the maximum acceptable amount of time a system can be offline before it causes serious business harm. An RTO of one hour means that a critical server must be back up and running within 60 minutes of going down.
So, in a nutshell: RPO is about data, and RTO is about time. Getting these two numbers right for each of your systems is the first real step toward a DR plan that actually works.
How Does Proxmox Backup Server Help Prevent Ransomware Damage
I get asked this a lot, and for good reason. Proxmox Backup Server (PBS) is a genuine game-changer when it comes to fighting ransomware, and it does it with more than just one trick. For starters, its chunk-based, deduplicated storage format makes it inherently tough for ransomware to encrypt entire backup files efficiently.
But the real magic is how it enables true backup immutability.
When you sync your on-premise PBS backups to a secure, off-site repository that has object-lock enabled—like a managed cloud service—you create a copy of your data that cannot be changed. This means an attacker can’t alter, encrypt, or delete those backup files, even if they completely own your primary network. You’re guaranteed to have a clean, uncompromised recovery point, which essentially renders their ransomware attack useless.
Is Cloud Backup More Secure Than On-Premise Backup
This isn’t a simple “yes” or “no” question. The real answer is: security depends entirely on how you implement it, not just where it lives. Both approaches have their own clear advantages and potential weak spots.
On one hand, top-tier cloud providers offer a level of physical security, infrastructure redundancy, and dedicated security teams that most small and medium-sized businesses could never match on their own. They handle the hardware headaches so you can just focus on your data.
On the other hand, on-premise backups give you direct, hands-on control. You have total authority over the hardware and the network security stack, and you aren’t at the mercy of an internet connection to perform a restore.
In my experience, the most bulletproof strategy is almost always a hybrid approach. You combine the speed and control of local, on-premise backups for everyday restores with the geographic separation and immutability of a secure, encrypted off-site cloud backup. This gives you the best of both worlds and prepares you for nearly any disaster you can think of.
At ARPHost, LLC, we don’t just sell services; we build resilient infrastructure designed to protect your most critical asset: your data. Whether it’s through our Proxmox Private Clouds or secure Backup as a Service, we give you the tools and expertise to build a data loss prevention strategy that lets you sleep at night.
Explore our managed IT and hosting solutions to secure your business today.
[…] rely on cloud services or virtual servers, the stakes are even higher. Understanding the nuances of preventing data loss in virtualized environments is a crucial step for any IT manager or business […]