


Changing the root password in Linux is a foundational administrative task, typically accomplished with a single sudo passwd root command. However, this simple action is a critical security measure that protects the core of your system from unauthorized access. For IT professionals managing bare-metal servers, private cloud infrastructure, or virtualized environments, robust password management is essential for protecting the entire IT stack.
Why Root Password Security Is a Critical Priority

Managing the root password is not merely a routine update; it is a fundamental pillar of system security. The root user holds complete administrative control over a Linux environment. If this account is compromised, an attacker gains unrestricted access to modify system files, install malware, exfiltrate sensitive data, and disable security controls across your entire infrastructure.
This risk is amplified in modern IT environments where a single host often supports multiple virtual machines or containers. Whether you are managing bare-metal servers, a Proxmox VE private cloud, or individual KVM virtual machines, the security of the root account on the host system is paramount.
The Modern Threat Landscape
Linux has become a prime target for sophisticated attacks, and the number of registered Common Vulnerabilities and Exposures (CVEs) is surging. This trend underscores why strong root password security is so critical. According to Kaspersky's recent findings, exploit encounters for Linux users have nearly doubled in some quarters compared to the year before, highlighting the persistent threats facing enterprise systems.
In a production environment, a weak or stolen root password is not just a vulnerability—it's an open invitation for a complete system takeover. The potential for damage escalates from a single compromised server to a widespread breach affecting your entire private cloud or hosting infrastructure.
Implications of a Compromised Root Account
The consequences of a security failure at this level are severe and far-reaching. The constant threat of dark web credential exposure only raises the stakes, making root password security a non-negotiable priority for any professional IT operation.
Consider the potential impact of a compromised root account:
- Complete System Control: An attacker can alter system configurations, disable firewalls, and erase logs to conceal their activity.
- Data Breach: All data on the system—customer information, intellectual property, financial records—becomes accessible.
- Infrastructure Hijacking: Compromised servers can be used to launch further attacks, mine cryptocurrency, or join botnets, draining your resources and damaging your reputation.
Diligently managing your root password is a core responsibility of professional system administration. Before proceeding with the technical steps, it is important to understand the context behind each method.
Common Scenarios for Changing a Root Password
This table outlines common scenarios and connects each situation to the appropriate recovery method, providing a quick reference for system administrators.
| Scenario | Method Used | Key Challenge |
|---|---|---|
| Routine Security Update | sudo passwd root command | Requires existing sudo access. |
| Forgotten Root Password | Single-user or rescue mode via GRUB | Requires physical or console access. |
| Locked Out of a Cloud/VPS | Cloud provider's recovery tools | Relies on the provider's specific interface. |
| Post-Compromise Security | Full system lockdown and reset | Ensuring all backdoors are eliminated. |
| New System Setup | Initial configuration prompts | Setting a strong, unique password from day one. |
Each of these scenarios presents unique challenges, from needing console access for a locked-out bare-metal server to navigating a cloud provider's specific recovery console. The following sections provide detailed, step-by-step instructions for each.
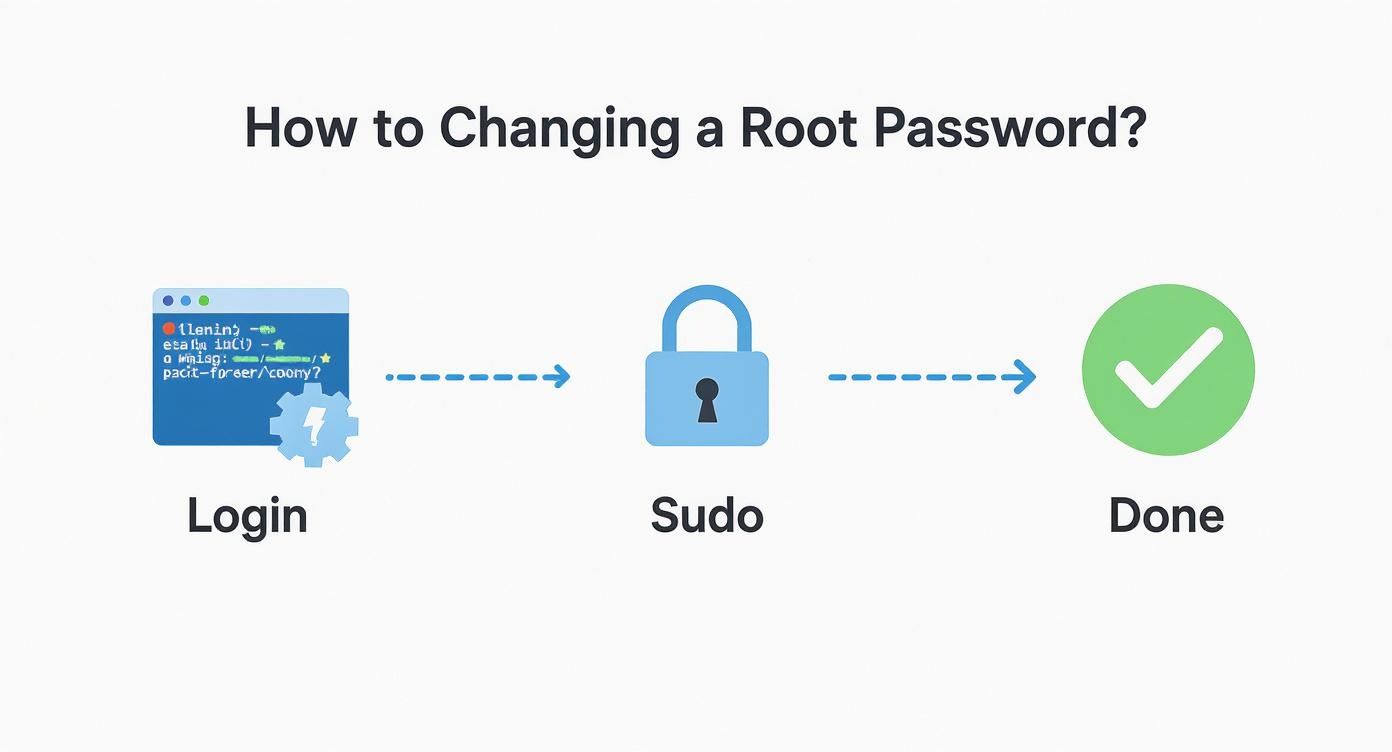
The Standard Method: Using Sudo and Passwd
For routine password updates, the industry best practice to change the root password in Linux is both simple and secure. This method leverages the sudo command to temporarily elevate a standard user's privileges, allowing them to run the passwd utility for the root account without logging in directly as root. This aligns with the principle of least privilege and enhances system security.
This process assumes you have an account with sudo permissions. The steps are consistent across all major Linux distributions, including Debian, Ubuntu, CentOS, and RHEL.
Executing the Password Change
First, open a terminal session. The command is straightforward: invoke passwd with sudo and specify the root user as the target.
sudo passwd root
Upon execution, the system will first prompt for your password to authenticate the sudo request. After successful verification, it will prompt you to enter the new root password twice for confirmation.
Note: When you type the password, no characters will appear on the screen. This is a standard security feature in Unix-like systems to prevent shoulder surfing.
Command Prompts on Debian vs. RHEL Systems
The interactive prompts are nearly identical across Linux families. The workflow for changing the password on a Debian or Ubuntu server is functionally the same as on a CentOS or RHEL machine. Any variations typically stem from system-specific password complexity rules, often enforced by Pluggable Authentication Modules (PAM). For a deeper understanding of the distinctions between these server operating systems, see this comparison of Debian Server vs Ubuntu Server.
Here is a typical session on a Debian-based system, such as Ubuntu:
user@ubuntu-server:~$ sudo passwd root
[sudo] password for user:
Enter new UNIX password:
Retype new UNIX password:
passwd: password updated successfully
And on a RHEL-based system like CentOS, the output is functionally identical:
[user@rhel-server ~]$ sudo passwd root
Changing password for user root.
New password:
Retype new password:
passwd: all authentication tokens updated successfully.
Creating a Strong Enterprise Password
Changing the password is a mechanical process; ensuring it is cryptographically strong is a critical security practice, especially in an enterprise environment.
Follow these best practices for creating secure passwords:
- Length is Key: Aim for a minimum of 16 characters. Longer passphrases are exponentially more resistant to brute-force attacks.
- Avoid Predictability: Do not use company names, common dictionary words, or sequential keyboard patterns (e.g.,
qwerty). - Use a Password Manager: Leverage a trusted password manager to generate and store high-entropy, random passwords. This mitigates the risk of human predictability and ensures credentials remain unique across systems.
The "password updated successfully" message confirms that you have not only changed a password but also adhered to a secure and auditable administrative workflow.
Recovering a Lost Root Password in Single User Mode
Losing the root password to a bare-metal server or a critical VM is a significant operational issue. When sudo access is unavailable, you need a reliable method to regain control without data loss. Single-user mode (or emergency mode) provides this capability. By interrupting the boot process via the GRUB bootloader, you can access a root shell and reset the password before the system fully initializes.
This procedure requires direct console access, whether through a physical keyboard and monitor, a KVM-over-IP switch in a data center, or the virtual console provided by a hypervisor like Proxmox VE.
Accessing the GRUB Boot Menu
Reboot the target machine and watch for the GRUB 2 bootloader menu. Once it appears, use the arrow keys to select the default kernel entry and press the 'e' key to edit the boot parameters for the current session.
Modifying Kernel Boot Parameters
You will be presented with the GRUB editor. Locate the line that begins with linux, linux16, or linuxefi. This line defines the kernel boot parameters. Your goal is to append a parameter that instructs the kernel to drop into a root shell instead of proceeding with the standard boot sequence.
The exact parameter varies by Linux distribution family:
- For Debian/Ubuntu Systems: Find the
ro(read-only) parameter and change it torw(read-write). Then, appendinit=/bin/bashto the end of the line. This instructs the kernel to mount the root filesystem as writable and execute a Bash shell as the init process. - For RHEL/CentOS/Fedora Systems: Append
rd.breakto the end of thelinuxline. This parameter instructs the system to break the boot process during the initramfs stage, just before control is handed over to the main operating system.
After editing, press Ctrl+X or F10 to boot with the modified parameters. You will be dropped into a root shell prompt.
Boot Parameter Cheatsheet for Password Recovery
| Distribution Family | Kernel Parameter to Edit | Command to Append |
|---|---|---|
| Debian / Ubuntu | Find ro and change it to rw | init=/bin/bash |
| RHEL / CentOS / Fedora | Find the linux... line | rd.break |
| Arch Linux / Manjaro | Find ro and change it to rw | init=/bin/bash |
This table provides a quick reference for the most common enterprise Linux distributions. Always verify the line before booting.
Remounting the Filesystem and Changing the Password
Depending on the method used, the root filesystem may be mounted as read-only. A password change requires write access to the /etc/shadow file.
If you used the Debian/Ubuntu method (rw init=/bin/bash), the filesystem is already writable.
For RHEL-based systems using rd.break, the root filesystem is mounted at /sysroot in a read-only state. You must remount it with write permissions and then switch into it using chroot.
mount -o remount,rw /sysroot
chroot /sysroot
The chroot command changes the apparent root directory, effectively placing you inside your server's real filesystem. Now, run the passwd command to set a new root password.
passwd
Enter and confirm the new password.
Crucial Step for SELinux Systems
On RHEL, CentOS, or Fedora systems where SELinux is enabled, one final step is critical. Since the/etc/shadowfile was modified from outside the normal system context, SELinux will prevent logins after a reboot. To fix this, you must instruct SELinux to relabel the entire filesystem on the next boot.
touch /.autorelabel
This command creates a flag file at the root of the filesystem. Upon reboot, the system will detect this file and initiate a full SELinux relabeling process. Forgetting this step is a common error that results in being locked out of the system even after a successful password reset.
Finally, type exit twice. The first command exits the chroot jail, and the second reboots the server. The subsequent boot will take longer than usual while SELinux relabels the filesystem. Afterward, you will be able to log in with your new root password.
Resetting Passwords on Cloud and Virtual Servers

When managing virtual infrastructure, direct physical access is not an option. To change a root password in Linux on a cloud instance or VM, you must use the recovery tools provided by your hosting or hypervisor platform instead of interacting with the GRUB bootloader directly.
Virtualized environments abstract the underlying hardware, requiring a different recovery strategy. Fortunately, modern platforms, from public cloud providers to on-premises hypervisors like Proxmox VE, offer robust solutions for this scenario.
Leveraging Provider-Specific Recovery Tools
Cloud providers like AWS, Azure, and Google Cloud have distinct workflows for password recovery, often involving automation scripts, instance snapshots, or specialized recovery images. For virtual private servers, the toolsets vary. Many providers, including those offering unmanaged VPS hosting solutions, provide access to a web-based serial console or VNC connection.
This out-of-band access is your lifeline. It simulates direct console access, allowing you to interact with the bootloader or a rescue environment when SSH is unavailable.
- Serial Console Access: Provides a direct, text-based terminal interface to your VM, enabling interaction with GRUB as you would on a physical machine.
- Rescue Mode: Boots your server using a minimal, network-enabled Linux environment. From there, you can mount your server's primary disk,
chrootinto its filesystem, and execute thepasswdcommand. - Recovery ISOs: Some providers allow you to mount a live CD or recovery ISO. This method is common in private cloud environments and offers a powerful way to perform system repairs.
For any IT professional, mastering your provider's recovery toolkit is a core competency. Knowing how to quickly initiate a serial console session or activate rescue mode can convert a critical outage into a routine, five-minute fix, minimizing downtime and maintaining service continuity.
Password Recovery in a Proxmox VE Environment
In a Proxmox VE private cloud, recovering a lost password for a KVM virtual machine is a straightforward process. The most effective method is booting the VM from a live Linux ISO.
First, upload a live CD image (e.g., a Debian or Ubuntu installer ISO) to your Proxmox storage repository. Next, modify the VM's hardware configuration to add a CD/DVD drive, mount the ISO, and adjust the boot order to prioritize the CD-ROM.
Once the VM boots into the live environment, open a terminal. You will need to identify and mount the VM's root partition, then chroot into it.
# Identify the root partition, e.g., /dev/sda1
lsblk

# Mount the partition
mount /dev/sda1 /mnt

# Chroot into the VM's filesystem
chroot /mnt

# Now, change the root password
passwd
After successfully changing the password, exit the chroot environment, unmount the partition, and reboot the VM. Remember to remove the ISO from the virtual CD drive and restore the original boot order to prevent the VM from booting into the live environment again.
Security Best Practices Beyond the Password
https://www.youtube.com/embed/ZhMw53Ud2tY
Successfully changing the root password is a fundamental technical skill, but it is only one component of a comprehensive security posture. To build resilience against modern threats, a multi-layered security strategy that hardens all administrative access points is required.
The single most impactful change is to disable direct root login over SSH. This simple configuration change immediately mitigates the most common vector for brute-force attacks by removing the primary target.
Enforcing Sudo-Based Administration
To implement this, edit the SSH daemon's configuration file, located at /etc/ssh/sshd_config. Open this file and locate the PermitRootLogin directive.
Change its value to no:
PermitRootLogin no
After saving the file, restart the SSH service to apply the change. This action forces all administrators to first authenticate with their individual non-privileged user accounts. From there, they must use sudo to perform tasks requiring elevated permissions, creating a clear audit trail. Every privileged command is logged against a specific user, not the generic root account.
For a deeper dive into comprehensive system hardening, refer to our guide on how to secure a web server.
Implementing Stronger Password Policies
While focusing on the root password, it is an opportune time to enforce stricter password hygiene system-wide. Tools like pam_pwquality can be configured to mandate complexity requirements, including minimum length, character classes (uppercase, lowercase, numbers, symbols), and prohibitions against dictionary words.
A policy is only as good as its enforcement. Automating password complexity and rotation rules removes human error and ensures a consistent security baseline across all your bare metal and virtual servers.
Password security remains a significant vulnerability for many organizations. Weak or expired credentials create persistent vulnerabilities. This negligence often extends to critical root accounts, making proactive management absolutely essential.
Beyond password policies, it is critical to understand how credentials are stored. Learning about secure password storage principles will provide a more complete understanding of credential security.
By combining these practices—disabling direct root login, enforcing sudo use, and implementing strong password policies—you establish a robust defensive posture that significantly increases the difficulty for any potential attacker.
Common Questions About Root Passwords
The following section addresses common questions and challenges that system administrators face when managing the root password in Linux.
How Can I Automate Root Password Changes Across Multiple Servers?
Manual password management across a fleet of servers is inefficient and error-prone. Configuration management tools like Ansible, Puppet, or SaltStack are the industry-standard solution for this task. You can write a playbook or module to automate the passwd command across all managed nodes.
For example, a basic Ansible playbook for this task would be:
- name: Change root password on all servers
  hosts: all
  become: true
  tasks:
    - name: Set new root password
      user:
        name: root
        password: "{{ new_root_password | password_hash('sha512') }}"
The key best practice here is using a hashed password variable, which is passed from a secure source like Ansible Vault, rather than exposing a plaintext password in the playbook. This approach ensures consistency, security, and scalability.
What Happens If I Forget the /.autorelabel Step on a CentOS System?
Forgetting to touch /.autorelabel on a system with SELinux (like CentOS or RHEL) is a common mistake with significant consequences. Upon reboot, SELinux will detect that the /etc/shadow file's security context is incorrect and will block all login attempts to protect the system.
The server will appear to boot normally but will reject all password attempts, including the newly set one. To resolve this, you must repeat the entire recovery process: reboot, interrupt GRUB, enter emergency mode, chroot into the filesystem, and this time, create the .autorelabel file before rebooting.
Pro Tip: When performing critical recovery operations, work from a documented checklist. This practice minimizes the risk of skipping a small but vital step like the SELinux relabel command.
Can I Change the Root Password Without Rebooting?
Yes. The standard method of changing the password using sudo passwd root does not require a reboot. The change takes effect immediately.
A reboot is only necessary for recovery scenarios where you are locked out of the system and must use single-user or emergency mode to regain access. For routine, planned password updates, no service interruption is required.
How Do I Check the Password Expiry Policy for the Root User?
To inspect the password aging and expiry policies for the root account, use the chage command with the -l (list) flag.
sudo chage -l root
This command provides a detailed report, including:
- Last password change: The date the password was last updated.
- Password expires: The date the current password will expire.
- Password inactive: The grace period after expiration before the account is locked.
- Account expires: The date the account itself is set to be disabled.
- Minimum/Maximum number of days between password change: Rules governing password rotation frequency.
This command is essential for security audits and for verifying that organizational password policies are correctly enforced on critical systems.
At ARPHost, LLC, we provide the secure, high-performance infrastructure you need to manage your systems confidently. From bare metal servers to managed Proxmox private clouds, our solutions are built for reliability and backed by 24/7 expert support. Scale your operations with a provider that understands your technical needs. Learn more at https://arphost.com.