

At its core, bare metal server provisioning is the process of transforming raw hardware into a fully functional, production-ready system through automation. It’s the foundational practice that configures physical servers, laying the groundwork for high-performance infrastructure designed to handle the most demanding enterprise workloads.
For any application requiring direct, uncontested access to physical resources—from private clouds built on Proxmox VE to large-scale database clusters—mastering this process is mission-critical. This guide provides a step-by-step walkthrough of the entire lifecycle, from initial hardware setup to final configuration management.
Why Bare Metal Provisioning Is Mission-Critical
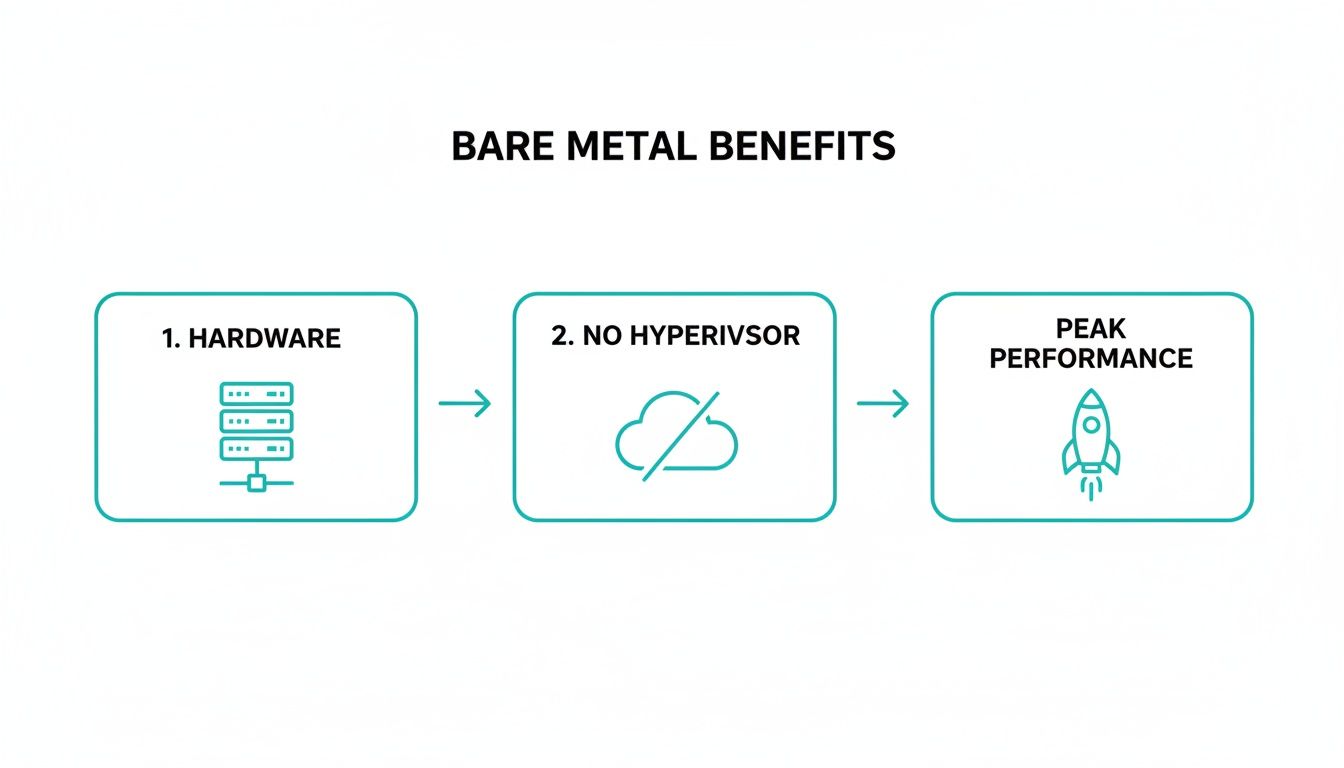
In a world dominated by virtualization, choosing bare metal is a strategic decision driven by an uncompromising need for raw performance, enhanced security, and complete control. Unlike virtual machines, which share resources through a hypervisor layer, bare metal gives applications a direct, unfiltered path to the server's CPU, RAM, and storage.
This direct access completely sidesteps the "virtualization tax"—the performance overhead incurred by the hypervisor, which can consume 10-15% of a system's resources. In high-stakes environments, this overhead is unacceptable.
This principle is demonstrated in various real-world technical use cases:
- High-Frequency Trading (HFT): Financial platforms require the lowest possible latency. Bare metal eliminates the hypervisor's processing lag, ensuring trades execute with microsecond precision.
- AI and Machine Learning: Training large models demands sustained, unthrottled GPU power. Provisioning bare metal provides data scientists with the full computational capacity of specialized hardware without resource contention.
- Large-Scale Databases: High-transaction databases and data warehouses operate most efficiently with direct I/O access to storage and memory, avoiding the bottlenecks common in shared virtual environments.
- Real-Time Media Streaming: Consistent encoding and delivery of high-definition video require predictable performance and massive throughput, which bare metal infrastructure is uniquely suited to provide.
The objective is to remove all layers of abstraction between the application and the hardware, maximizing performance.
By eliminating this intermediary layer, you not only boost speed but also remove a potential point of failure and a significant performance bottleneck.
The Strategic Business Advantage
Beyond performance, automating bare metal server provisioning delivers significant operational efficiencies. The bare metal cloud market is projected to grow from USD 14.32 billion in 2025 to USD 36.71 billion by 2030, reflecting a massive industry shift.
A key driver is the need for predictable costs and stronger security. A bare metal server is a single-tenant environment, meaning its resources are dedicated to a single client. This eliminates the "noisy neighbor" problem, where another tenant on a shared host can monopolize resources and degrade application performance. For a deeper look at the fundamentals, our guide on what a bare metal server is provides a solid starting point.
A robust bare metal provisioning strategy is a cornerstone of modern IT governance. It aligns with IT asset management best practices by ensuring every hardware asset is deployed consistently, tracked accurately, and configured correctly from its initial power-on.
Ultimately, mastering this process allows IT teams to manage physical hardware with the agility and speed of cloud resources, building a rock-solid, high-performance foundation for mission-critical applications.
Your Pre-Provisioning Hardware Checklist
Automated bare metal server provisioning relies on a correctly configured hardware foundation. Failed deployments can often be traced back to overlooked physical setup steps, leading to hours of manual troubleshooting. Adhering to a pre-flight checklist for hardware and firmware is non-negotiable for repeatable success.
Think of this as establishing the launchpad for your deployment. Without a solid foundation, automation workflows will fail to execute.
Establish Reliable Out-of-Band Access
A server’s Baseboard Management Controller (BMC) or Intelligent Platform Management Interface (IPMI) provides "out-of-band" control, enabling remote power cycling, sensor monitoring, and console access, even when the primary OS is offline or uninstalled. Proper BMC configuration is the first step.
- Dedicated Network Port: Connect the BMC to a secure, isolated management network. Never expose the BMC directly to the public internet.
- Static IP Assignment: Assign a static IP address to the BMC. Automation tools require a predictable endpoint for API communication; DHCP is unsuitable for this purpose.
- Strong Credentials: Immediately replace default credentials (e.g.,
admin/admin). Implement strong, unique passwords and integrate with centralized authentication systems where possible. - Firmware Updates: Apply the latest BMC and BIOS/UEFI firmware updates to patch security vulnerabilities and resolve bugs that can disrupt provisioning.
A properly configured BMC is the cornerstone of "lights-out" automation for any bare metal server deployment.
Configure Storage for Performance and Redundancy
Automated OS installers are highly specific about disk layouts. A misconfigured RAID array is a common point of failure. This includes making informed hardware choices, such as understanding the performance characteristics of SATA vs SAS drives for your intended workload.
Access the RAID controller's utility during boot (e.g., via Ctrl+R) or through the BMC's remote interface to create a logical volume that the OS installer will recognize as a single disk.
A standard configuration for an OS installation with two SSDs is RAID 1 (mirroring), which provides redundancy against a single drive failure. For larger data volumes, RAID 10 (a stripe of mirrors) offers an optimal balance of performance and fault tolerance.
Best Practice: A common error is leaving drives in a non-RAID or JBOD ("Just a Bunch of Disks") state when the provisioning tool expects a pre-configured logical volume. Always explicitly create and initialize your RAID arrays before initiating an automated installation.
Set Up Network Interfaces for High Availability
Prepare the server's network interfaces for their production role by configuring Link Aggregation Control Protocol (LACP), also known as bonding or teaming. This combines multiple physical network interface cards (NICs) into a single logical channel.
Configuring LACP in the server’s BIOS/UEFI or network adapter settings yields two key benefits:
- Increased Throughput: The total available bandwidth becomes the sum of all aggregated ports.
- High Availability: If a NIC, cable, or switch port fails, traffic automatically fails over to the remaining active links, preventing downtime.
Additionally, ensure correct VLAN tagging is configured on the server ports if required by your network architecture. Mismatched VLANs are a frequent cause of provisioning failures, as the server cannot communicate with essential DHCP and PXE services.
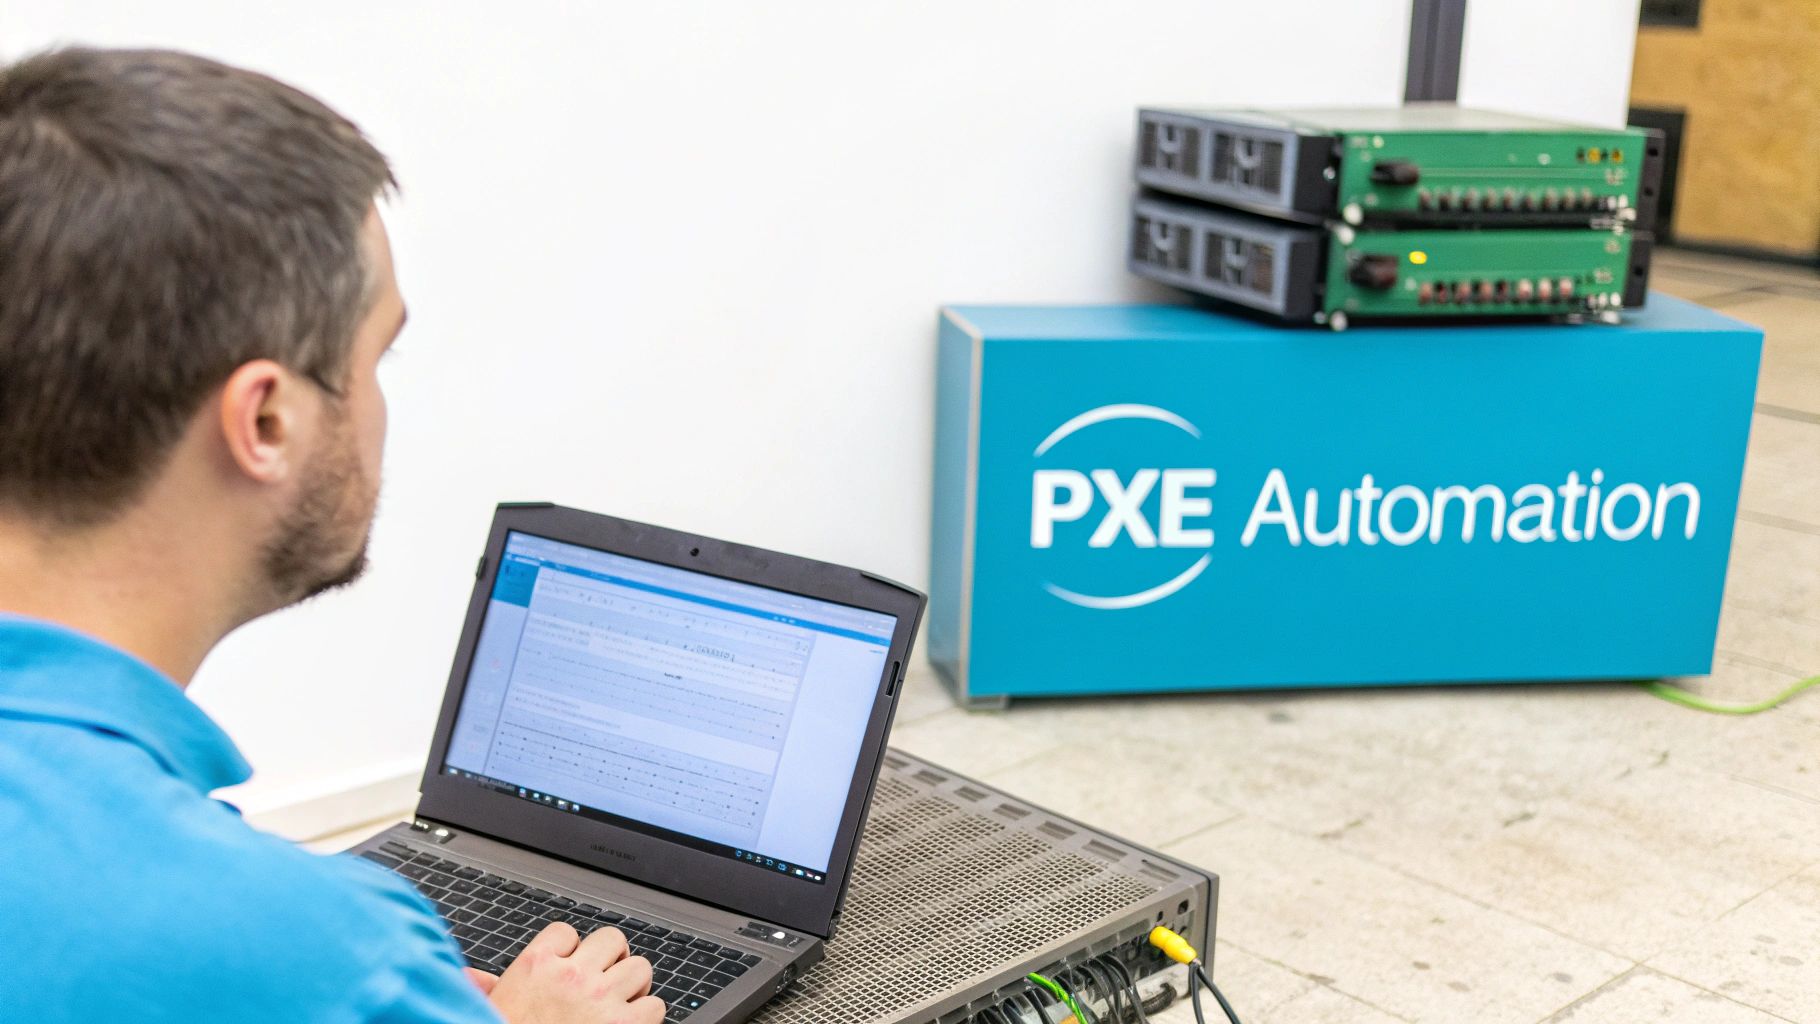
The Core of Automation: PXE and iPXE Booting
Once the physical hardware is prepared, the next step is to build the engine of automation: the Preboot Execution Environment (PXE). This technology enables a server to boot from its network card, retrieve instructions from a central server, and install an operating system without manual intervention.
The process begins when a server powers on. Its NIC broadcasts a DHCP request. The DHCP server responds with an IP address and provides special instructions pointing the server to its boot files. A Trivial File Transfer Protocol (TFTP) server then delivers the initial bootloader and configuration files.

While the classic PXE setup is functional, modern infrastructures typically use its more capable successor, iPXE. Unlike PXE, which is limited to TFTP, iPXE can retrieve boot files over HTTP. This provides significant improvements in speed, reliability, and scripting flexibility.
Step-by-Step: Building the PXE Boot Environment
Setting up a PXE environment requires two core services: DHCP and TFTP. The DHCP server must be configured to direct PXE clients to the TFTP server using specific DHCP options.
Here is an example configuration for an ISC DHCP server:
subnet 192.168.10.0 netmask 255.255.255.0 {
  range 192.168.10.100 192.168.10.200;
  option routers 192.168.10.1;
  option domain-name-servers 8.8.8.8;

  # PXE-specific directives for iPXE
  filename "undionly.kpxe"; # Points to the iPXE bootloader
  next-server 192.168.10.5; # IP of your TFTP/HTTP server
}
The filename directive specifies the boot file to download, while next-server provides the IP address of the TFTP server. This is where settings like DHCP Option 66 are critical for directing traffic. For a detailed walkthrough, see our guide on configuring DHCP Option 66 for TFTP. The client receives these instructions and proceeds to download the bootloader.
Scripting Installations with iPXE
The true power of automation is unlocked with iPXE scripting. Instead of loading a static boot file, an iPXE script, served over HTTP, can make dynamic, on-the-fly decisions. This script can select which OS installer to load based on a server's MAC address, hardware profile, or other identifiers.
Here is a sample iPXE script for an automated deployment of Ubuntu 22.04:
#!ipxe

# Define the location of the installer files hosted on an HTTP server
set base-url https://192.168.10.5/ubuntu-22.04

# Load the Linux kernel and initial ramdisk
kernel ${base-url}/vmlinuz
initrd ${base-url}/initrd

# Pass kernel boot parameters for an automated installation
# The 'autoinstall' parameter points to our cloud-init user-data file
boot-args vga=788 initrd=initrd quiet autoinstall ds=nocloud-net;s=${base-url}/
boot
This script performs several key actions:
- Sets a base URL: Defines the HTTP path to the OS installation files.
- Loads Kernel and Initrd: Fetches the essential Linux kernel and initial ramdisk required to start the installer.
- Passes Boot Arguments: The
autoinstallparameter instructs the Ubuntu installer to retrieve a configuration file (user-data) from the specified URL, enabling a fully unattended installation.
By chain-loading an iPXE script, you create a flexible and repeatable workflow. You can maintain multiple scripts for different operating systems or server roles (e.g., a Proxmox VE host vs. a database server), allowing you to deploy customized systems by simply directing the server to the appropriate script.
This method eliminates the need to manage large, monolithic OS images. Instead, you use a standard installer and supply a script that automates partitioning, package selection, and initial user setup.
Picking the Right Tool for the Job: MAAS vs. Foreman vs. Ironic
While a simple PXE/iPXE setup is effective for small-scale deployments, it lacks the lifecycle management capabilities required to operate a large fleet of physical machines efficiently. Dedicated bare metal server provisioning platforms address this challenge by transforming racks of hardware into a private, cloud-like resource.
These tools automate everything from hardware discovery and health checks to OS deployment, reconfiguration, and decommissioning. They create a powerful abstraction layer, allowing you to manage physical servers with the same API-driven approach used for VMs.
Let's compare three leading open-source platforms: MAAS, Foreman, and OpenStack Ironic.
MAAS: Metal as a Service
Developed by Canonical, MAAS is designed to make physical hardware feel like a flexible, on-demand cloud. Its core philosophy is to treat servers as a commodity—a pool of resources that can be dynamically allocated to different tasks.
When a new server boots on a MAAS-managed network, it is automatically discovered and enters a "commissioning" phase.
During commissioning, MAAS performs the following actions:
- Hardware Inventory: Executes scripts to catalog the server's components (CPU, RAM, disks, NICs).
- Health Checks: Runs basic stress tests on memory and storage to validate hardware integrity before it enters production.
- BMC Configuration: Configures the server’s BMC, giving MAAS full remote power control.
Once a server passes commissioning, it is added to a pool of available machines. From there, an administrator can allocate a server, select an OS (e.g., Ubuntu, CentOS, Windows), and deploy it via an API call or the web UI.
MAAS is particularly effective in environments where hardware is frequently repurposed. For example, a development team might use a high-performance server for testing. When finished, they release it, and MAAS automatically wipes and redeploys it as a node in a Proxmox VE cluster the next day, all without manual intervention.
Foreman: The Complete Lifecycle Manager
Foreman approaches provisioning from a configuration-centric perspective. It acts as a single source of truth for a server's entire configuration, integrating deeply with tools like Puppet, Ansible, and Salt to create a robust, configuration-driven environment.
In Foreman, you define a "host group," which serves as a blueprint for a server. This template specifies every detail:
- The OS to be installed.
- The disk partitioning scheme.
- All network interface configurations.
- The Puppet classes or Ansible roles to be applied post-installation.
To provision a new server, you simply assign it to a host group. Foreman orchestrates the entire process, from PXE boot and automated installation to registering the new node with your configuration management system. This ensures that every server is a perfect, repeatable instance of its blueprint. The automation capabilities of such tools are a key reason why sectors with strict compliance needs are adopting bare metal, as noted in bare-metal cloud market insights from Grand View Research.
OpenStack Ironic: Built for Cloud Integration
OpenStack Ironic is the bare metal provisioning component of the OpenStack cloud ecosystem. Its primary function is to enable the provisioning of physical servers using the same OpenStack APIs (specifically, the Nova compute API) that are used for virtual machines. This creates a seamless experience where users can request a compute instance without needing to know whether it is a VM or a physical machine.
Ironic is the most "cloud-native" of these options and is typically used as part of a larger private cloud infrastructure. It employs a driver-based architecture to communicate with each server's BMC for power and boot control. When a user requests a bare metal instance, Ironic allocates an available server, powers it on, instructs it to PXE boot a deployment image, and then streams the final OS image directly to the server’s disk.
Comparison of Bare Metal Provisioning Platforms
This table compares key features of leading open-source provisioning tools to help you choose the right one for your environment.
| Feature | MAAS (Metal as a Service) | Foreman | OpenStack Ironic |
|---|---|---|---|
| Primary Goal | Treat physical servers like a flexible, cloud-like resource pool. | Act as a single source of truth for server configuration. | Provide bare metal via standard OpenStack cloud APIs. |
| Core Strength | Hardware lifecycle management (discover, commission, deploy). | Deep integration with configuration management (Puppet, Ansible). | Seamlessly integrate physical servers into a private cloud. |
| Ideal Environment | Dynamic, multi-tenant environments needing hardware elasticity. | Policy-driven, standardized environments (e.g., enterprise IT). | Large-scale private clouds built on OpenStack. |
| Configuration | UI, API, and CLI-driven. Manages network and storage. | Uses Host Groups and templates for repeatable builds. | Managed through OpenStack Nova and Glance APIs. |
| OS Support | Excellent for Ubuntu; supports CentOS, RHEL, Windows. | Broad support via Kickstart/Preseed (Red Hat & Debian families). | Deploys disk images (qcow2, raw) for any OS. |
| Ecosystem Integration | Integrates with Juju, an application modeling tool. | Part of a wider ecosystem with Katello for content management. | A core component of the OpenStack platform. |
| User Experience | Feels like managing a pool of available machines. | Feels like defining and enforcing a desired state for each host. | Feels like launching another instance in your cloud. |
The optimal choice depends on your organization's goals and existing infrastructure. MAAS is ideal for dynamic, Ubuntu-centric environments requiring cloud-like hardware flexibility. Foreman excels in organizations standardized on Puppet or Ansible that need strict, policy-based control. Ironic is the clear choice for building large-scale private clouds where bare metal must be a first-class citizen alongside VMs.
Finalizing Server Configuration with Ansible and Cloud-Init
Deploying an operating system is a major step in bare metal server provisioning, but it is only the beginning. The next critical phase is transforming the generic OS into a hardened, secure, and application-ready system. This "last mile" of configuration is where automation tools like Ansible and cloud-init are essential.
These tools ensure that every server is deployed to a consistent standard, every time. They handle post-installation tasks such as creating user accounts, configuring SSH keys, setting up firewalls, and deploying monitoring agents.
Using Cloud-Init for First-Boot Customization
cloud-init is the industry standard for customizing cloud instances, and it is equally powerful for bare metal. On its first boot, a cloud-init-enabled server searches for configuration data (known as "user-data") and executes the instructions it finds. This allows you to inject custom scripts and settings at the time of deployment.
The process is conceptually similar to what's covered in our guide on creating a Debian cloud-init template in Proxmox, which provides a practical walkthrough of the fundamentals.
Here is a practical user-data example in YAML format that prepares a server for production:
#cloud-config
package_update: true
package_upgrade: true
packages:
  - htop
  - curl
  - git
  - ufw

users:
  - name: sysadmin
    sudo: ALL=(ALL) NOPASSWD:ALL
    groups: sudo
    shell: /bin/bash
    ssh_authorized_keys:
      - ssh-rsa AAAA...

runcmd:
  - [ ufw, allow, ssh ]
  - [ ufw, --force, enable ]
This file ensures the server is fully patched, has essential tools installed, creates a sysadmin user with sudo privileges, and enables the firewall before the server is fully operational.
Applying Configuration at Scale with Ansible
While cloud-init is ideal for initial bootstrapping, Ansible is the tool of choice for ongoing configuration management and complex application deployments. Ansible uses "playbooks"—simple YAML files—to define the desired state of your servers. It operates over standard SSH, requiring no agents on the target nodes.
Below is an Ansible playbook that performs common server hardening tasks. It disables root SSH login, changes the default SSH port to enhance security, and installs a basic monitoring agent.
---
- name: Harden and Configure Bare Metal Server
  hosts: all
  become: yes

  tasks:
    - name: Ensure SSH root login is disabled
      lineinfile:
        path: /etc/ssh/sshd_config
        regexp: '^PermitRootLogin'
        line: 'PermitRootLogin no'
      notify: restart sshd

    - name: Change SSH port to 2222
      lineinfile:
        path: /etc/ssh/sshd_config
        regexp: '^#?Port 22'
        line: 'Port 2222'
      notify: restart sshd

    - name: Install monitoring agent (e.g., node_exporter)
      apt:
        name: prometheus-node-exporter
        state: present

  handlers:
    - name: restart sshd
      service:
        name: sshd
        state: restarted
Executing this playbook against a new server brings it into compliance with your security policies within moments. This level of speed and consistency is a hallmark of modern infrastructure management, and as market research indicates, fast provisioning times have become a competitive advantage.
Best Practice: A Powerful Combo
Use cloud-init for the initial bootstrap and Ansible for ongoing configuration management. Cloud-init establishes the essential foundation on first boot, while Ansible builds the complex, application-specific configuration on top. This two-stage approach is highly effective for scalable deployments.
Final Validation and Automated Checks
After the provisioning and configuration scripts have completed, the final step is to verify that the server is not just online, but correctly configured and ready for production traffic. An automated validation process is the only scalable way to achieve this.
You can create a validation playbook in Ansible or a simple shell script to check for key indicators of success:
- User Accounts: Confirm that the
sysadminaccount exists and that insecure default users have been removed. - Network Health: Verify connectivity to critical internal services and the public internet.
- Service Status: Ensure that the firewall, monitoring agents, and other essential services are running.
- Security Compliance: Check that the SSH port is correct and that root login is disabled.
This final, automated check closes the loop on the bare metal server provisioning process, providing confidence that every deployed machine is a perfect, production-ready clone.
Common Bare Metal Provisioning Questions Answered
Our engineering teams regularly address common challenges related to automating physical infrastructure. Here are answers to some of the most frequent questions.
Imaging vs. Provisioning: What's the Difference?
These terms are often used interchangeably, but they represent different scopes of work. Server imaging is the specific act of deploying a pre-configured operating system image (e.g., a WIM or qcow2 file) onto a server's disk.
In contrast, bare metal provisioning encompasses the entire end-to-end automated lifecycle:
- Hardware Discovery: Identifying a new machine on the network and cataloging its components.
- Network Configuration: Assigning an IP address and directing the server to a PXE boot service.
- OS Deployment: This is the stage where imaging occurs.
- Post-Install Configuration: Using tools like cloud-init or Ansible to apply system settings and install software.
- Validation: Running automated checks to confirm the server is ready for production.
True provisioning automates this entire chain of events, not just the OS installation.
Choosing the Right Provisioning Platform
The decision between a custom script and a dedicated platform depends on scale and complexity.
For smaller environments, a custom PXE/iPXE setup combined with Ansible is an excellent choice. It provides reliable automation without the steep learning curve or operational overhead of a larger platform.
For larger fleets, platforms like MAAS, Foreman, or Ironic become more practical.
- Foreman is ideal for organizations heavily invested in the Puppet/Katello ecosystem that require deep configuration management integration.
- MAAS is well-suited for environments that need a true cloud-like experience for physical hardware, particularly those with a focus on Ubuntu.
- Ironic is the standard for large-scale private clouds where bare metal needs to be managed through the same OpenStack APIs as VMs.
Top Security Concerns in Automated Provisioning
The primary security challenges in bare metal server provisioning relate to network access and secrets management. The top priorities should be securing the provisioning network and protecting sensitive data.
First, the PXE boot network must be isolated to prevent unauthorized devices from being provisioned. Second, use a dedicated secrets management tool like Ansible Vault or HashiCorp Vault for credentials like passwords and API keys. Never embed secrets in plain-text configuration files or scripts.
Finally, harden base OS images before deployment by disabling direct root login, implementing strict firewall rules, and minimizing the software footprint to reduce the attack surface.
Can I Provision Windows Servers?
Yes, but the workflow differs significantly from Linux. The process typically relies on the Windows Preinstallation Environment (WinPE) as the network-booted payload.
You configure DHCP and TFTP to serve the WinPE image. Once booted, WinPE executes scripts to pull a Windows Imaging Format (WIM) file from a network share and apply it to the local disk. Tools like Foreman offer specific integrations that can streamline this process.
Managing the entire provisioning lifecycle, from hardware configuration to post-install automation, demands specialized expertise. At ARPHost, LLC, we provide fully managed bare metal server solutions, handling these complexities so you can focus on your applications.
Explore our high-performance dedicated servers and let our experts build the robust, reliable foundation your business requires.